
How to Cancel a Performance
You can cancel a performance if it has no sales. Here's how.
Canceling a Performance With No Sales
To cancel a performance with no sales, you need to go into the event and click on the performance date/time you wish to cancel.

Before you can delete the performance date/time, you will first need to delete all price points associated with the performance. You can do this by selecting the box next to existing price points. Once all price points are selected, click "delete".

You will be asked if you're sure you want to delete this price point. Click "Submit"
Once all the price points are deleted, you will then need to delete all of the inventories. To delete inventories, click the ellipsis [...] to the right of the inventory name and click the pink "Delete" button at the bottom of the drop-down menu.

You will be asked if you're sure you want to delete this inventory. Click "Submit".
Only after all of the price points and inventories are deleted can you delete the performance. To delete the performance, click the ellipsis [...] and click the pink "Delete Performance" button from the dropdown.

You will be asked if you're sure you want to delete this performance. Click "Submit".
Canceling a Performance With Sales
You will not be able to delete price points, inventories, or performances that have sales associated with them. To cancel a performance, make sure sales are closed for all price points associated with the canceled performance. To do this, click the "Edit" button next to each price point and set the Off Sale At Date and Time to be a date/time that has passed.
Next, take care of the customers who have been affected by the cancellation. You can either see if there's another performance you have listed that they would want to attend or you can simply refund their purchase.
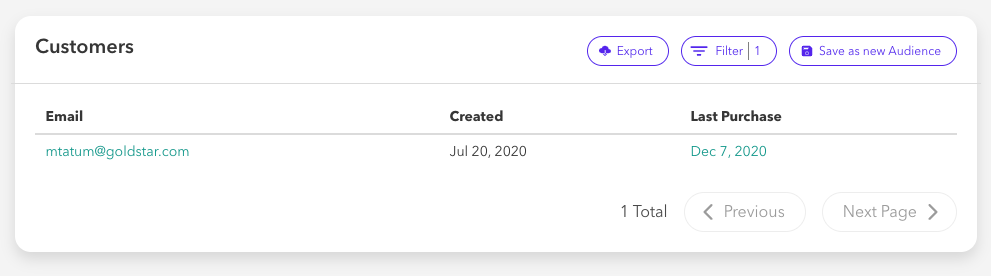
You can email your customers by pulling a report of people who purchased tickets to the canceled show from the Audiences tab on your Dashboard. Go to Audiences > Click on the canceled performance > Click "Export". This will send a CSV file with your customers' email addresses to your email.
If a customer opts for a date change, you would follow these steps:
Step 1 - Locate the original purchase by searching for the purchaser's email address in the search bar in your dashboard.
Step 2 - Once you've located their account, click on their email address date to access their purchase history.
Step 3 - Click on the Created Date associated with the canceled performance.
Step 4 - On the transaction page locate the Tickets section. On the right-hand side of the page, you'll see a button that says Revoke, click that button.
Please note that revoking a ticket will not refund the transaction, just invalidate the ticket link.
Step 5 - Manually issue your customer a ticket to the new performance of their choice. To do this, go to the performance they've chosen to switch their ticket to. Click the ellipsis [...] to the right of the inventory you’d like to issue tickets for. Click Issue Tickets. Input the customer's email address and click Submit. The customer will get an email confirming their new ticket which they can then access at the time of the show.
If your customer instead requests a refund, you will revoke their ticket and process a refund for them from Stripe: