How to set up Stripe receipt emails
Learn how to configure the purchase receipt email your customers receive from Stripe
When customers buy tickets on Stellar, they receive a purchase confirmation email from Stellar and a receipt email from Stripe. Learn how to best configure the receipt emails from Stripe to represent your organization.
You want your customers to see you at your best. Part of that equation is making your payment receipt emails from Stripe match your organization's brand. Without any customization, your receipt could look something like this:

Some immediate observations:
- The account name / organization name "acct_1h..." looks horrible
- There's no logo or image
- There are no follow up details regarding customer service, refunds, etc at the. bottom
Step 1: Login to your Stripe dashboard
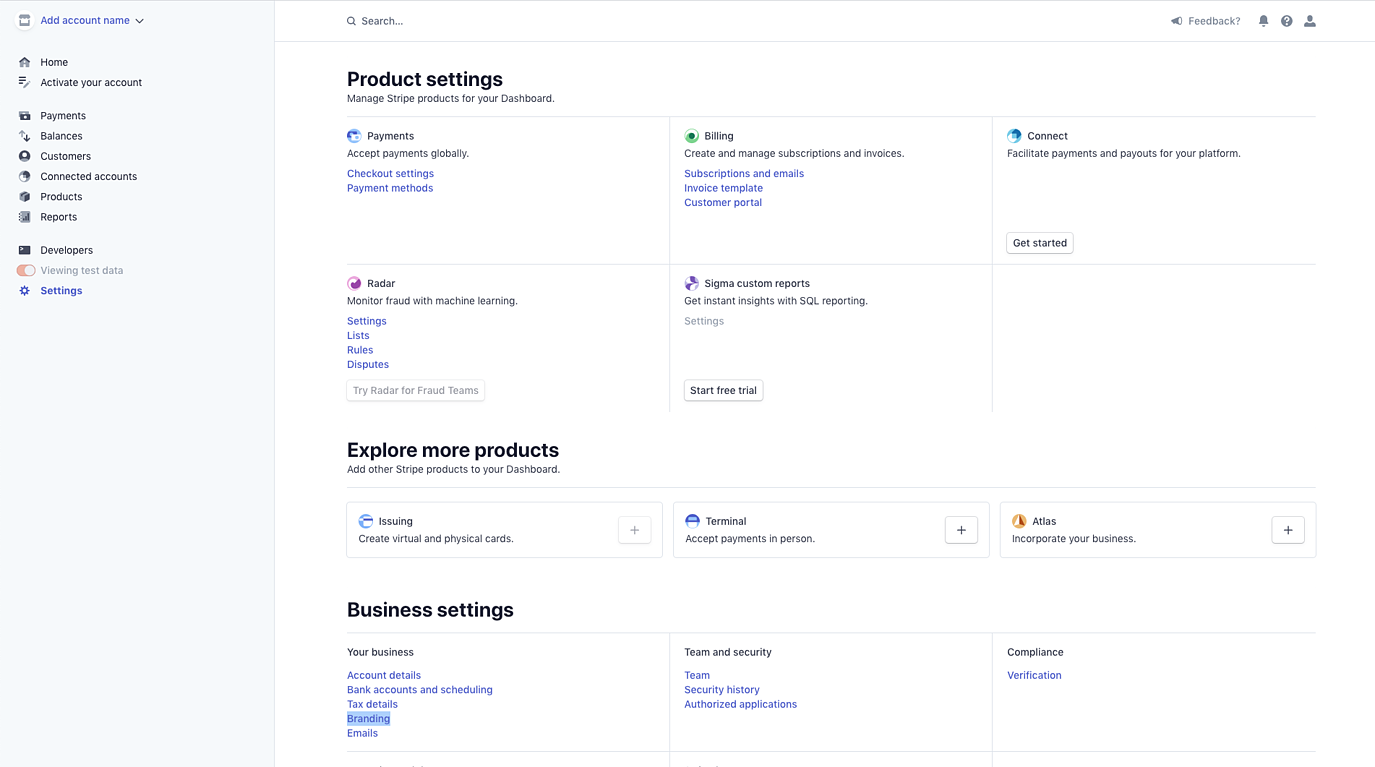
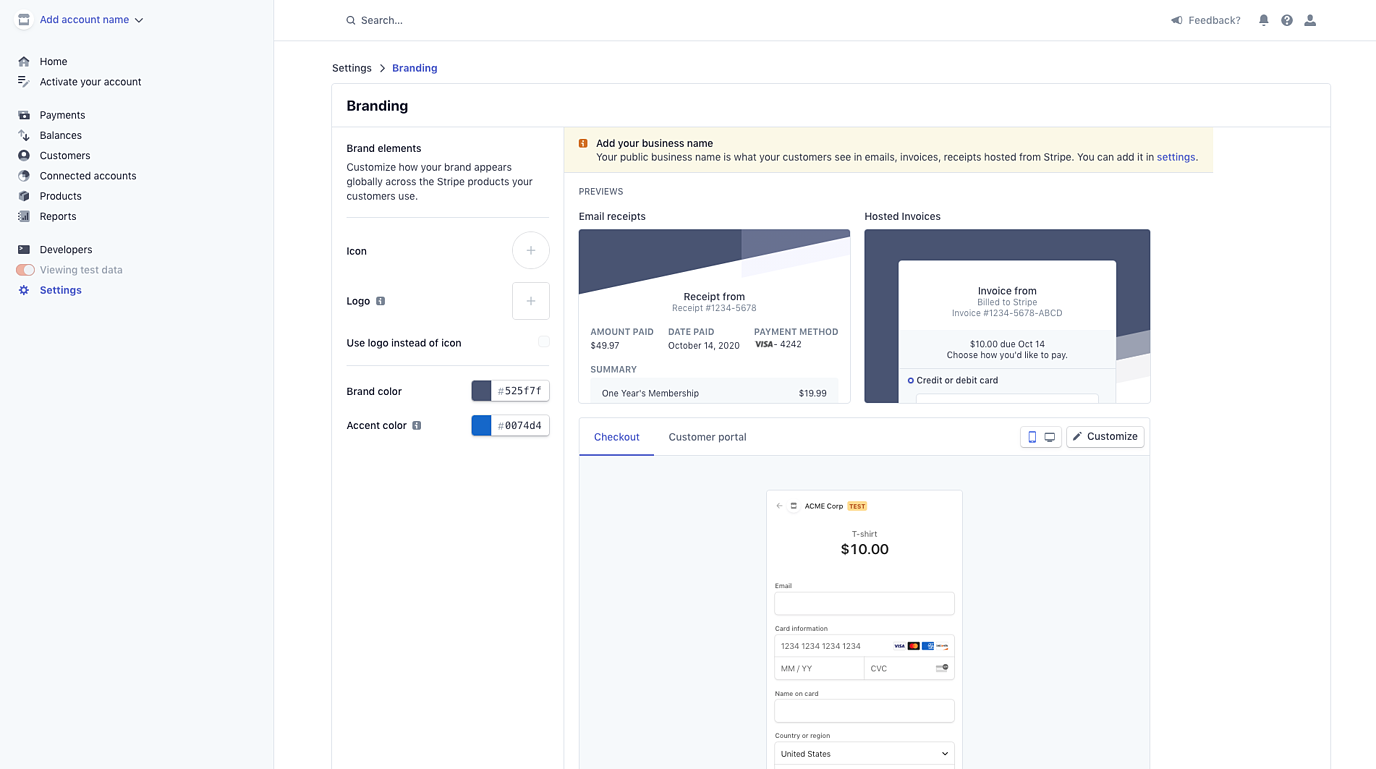
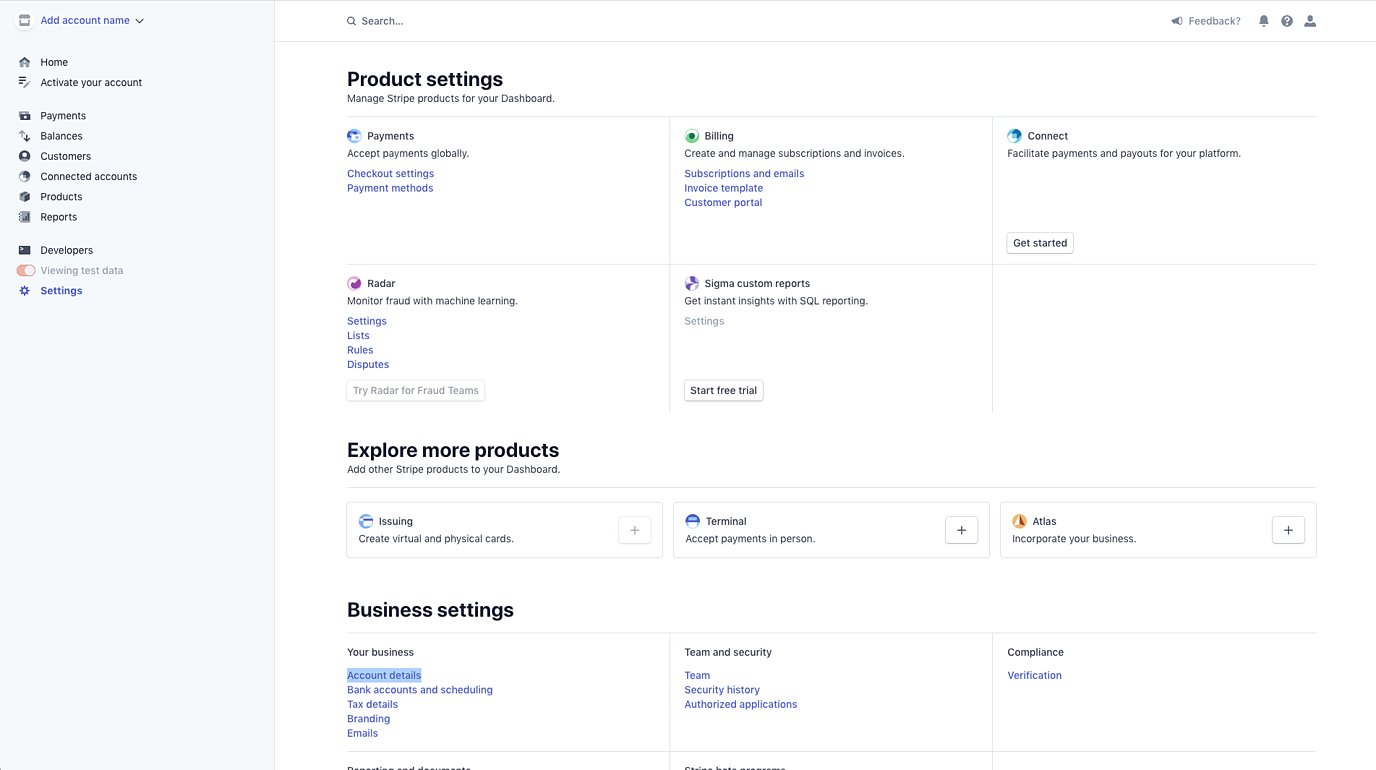
Step 2: Once logged in, click "settings" on the left navigation bar then click "Branding" under the "Business Settings" category header.
Step 3: Adjust your branding colors, add a logo or image, and send a test email receipt to yourself to make sure you are happy with the design.
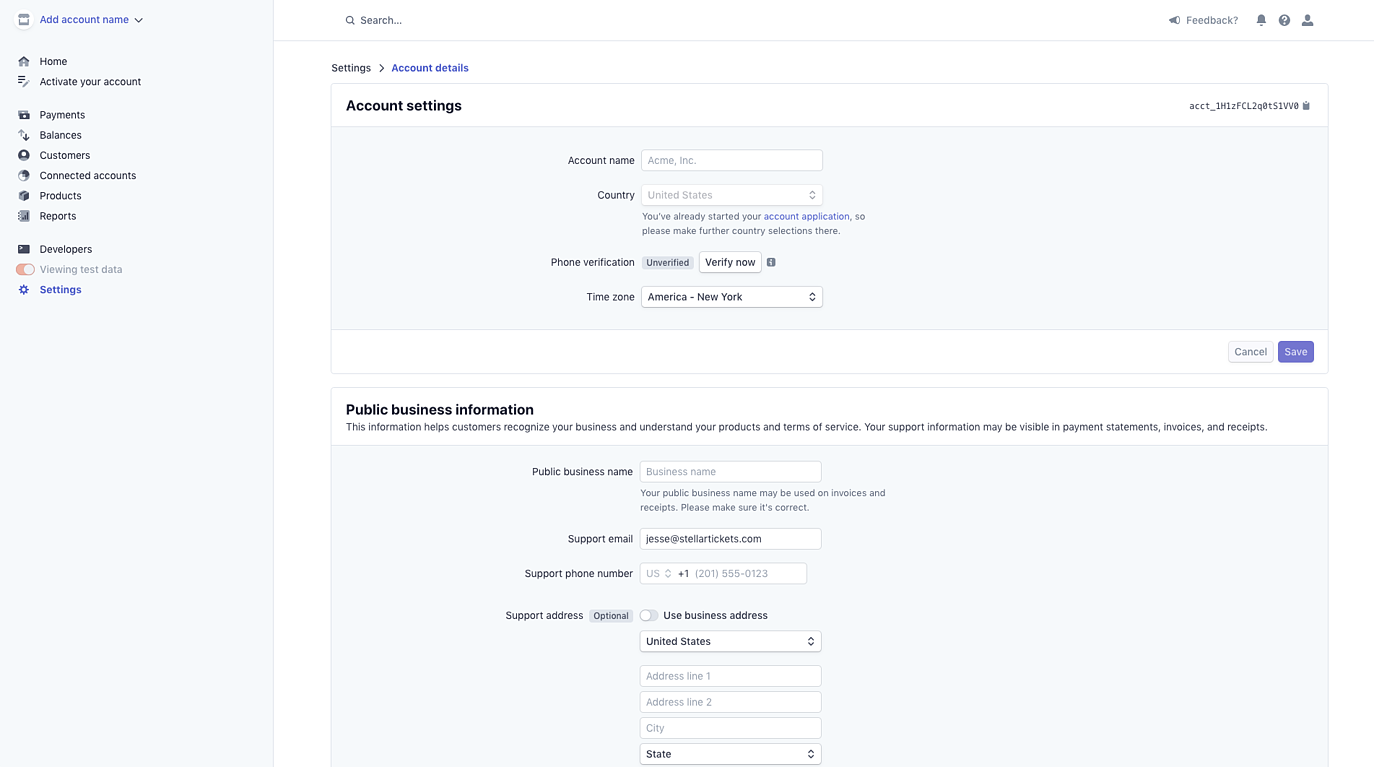
Step 4: To change the text on the email receipt, including your account name and customer service details, you can either click the blue "settings" link in the above yellow highlighted section of the branding details... OR... click "settings" on the left navigation bar, then select "Account Details" under the "Business Setting" category header.
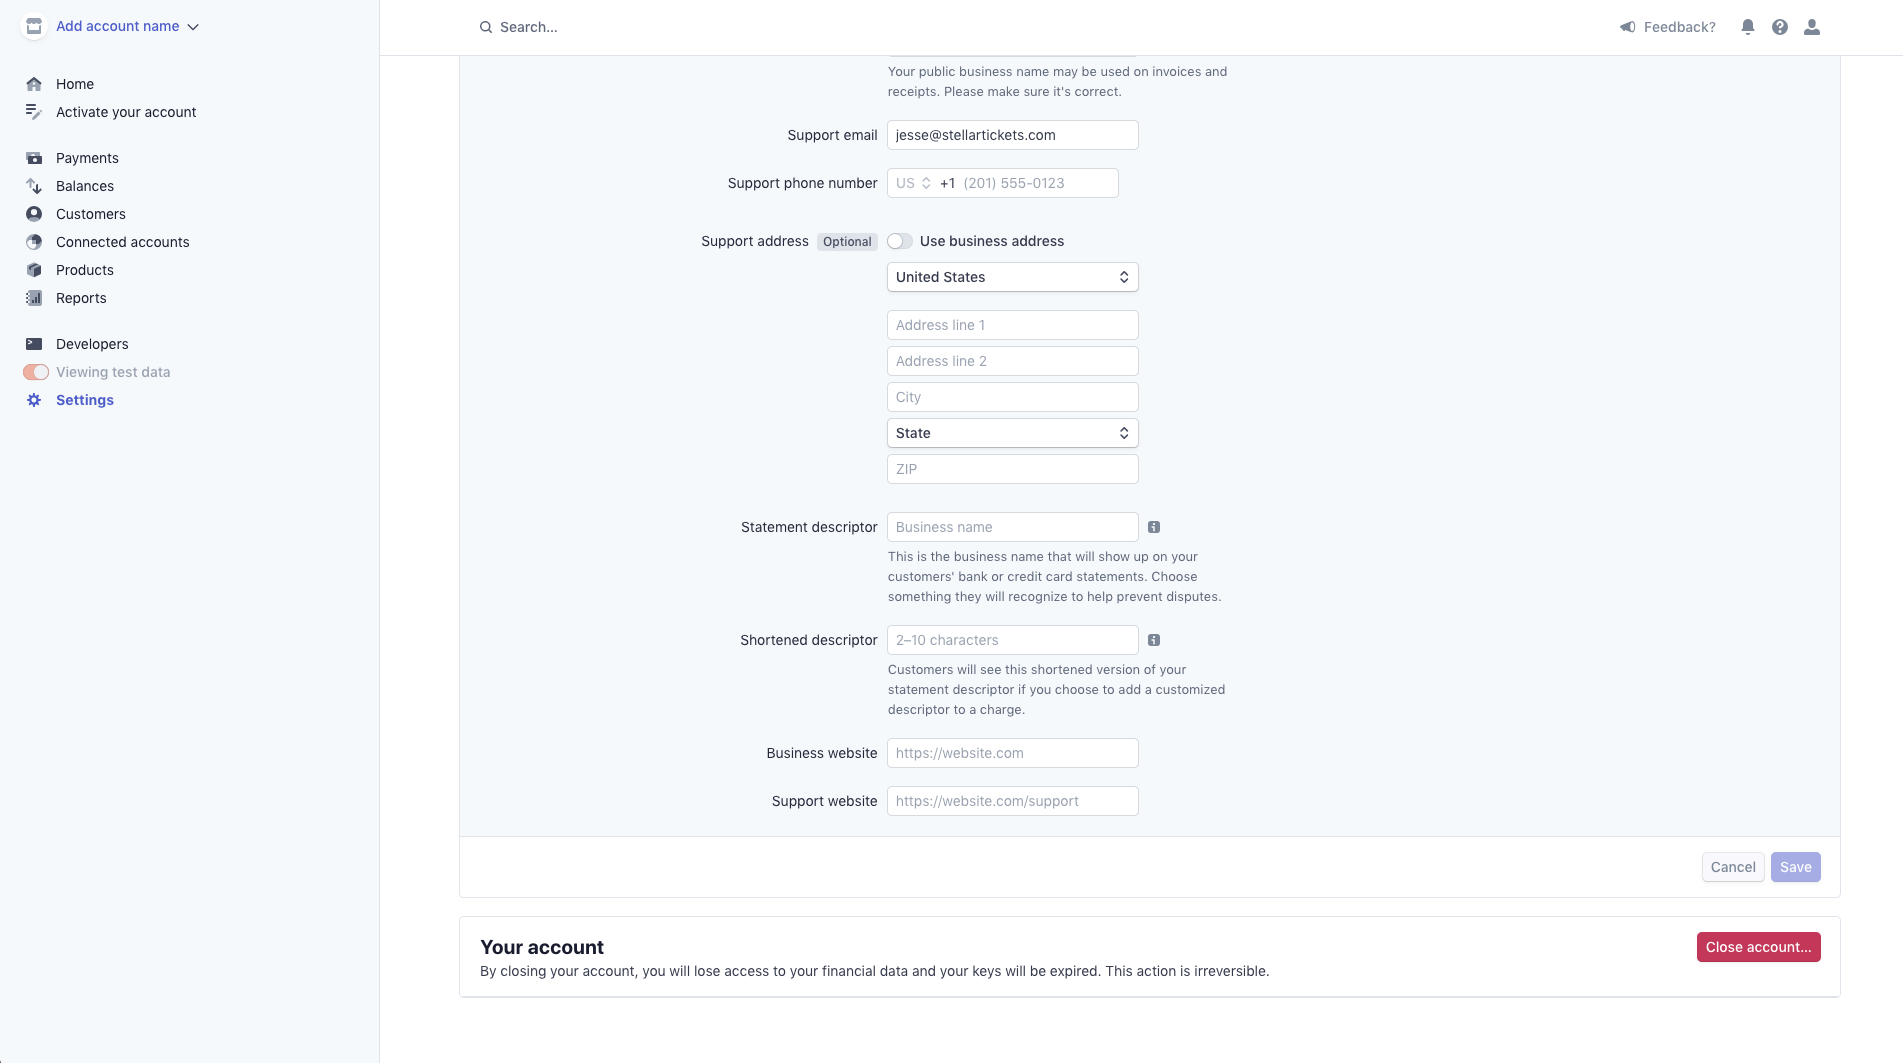
Step 5: Once in your Account Settings, fill out as many fields as you can with how you want your organization to be presented to the ticket buyer. After you fill out this information, go back to your Branding settings (steps 2 and 3 above) and send another email receipt test to yourself.