
How to Manage Transactions
Information on using processing refunds, transferring tickets and reporting.
Article Topics:
- Processing Refunds
- Transferring Tickets
- Managing Reporting
REFUNDS
Full or partial refunds are managed in Stripe. The organizer is the merchant of record, not Stellar, giving the organizer total control over the refund process.
To issue a full or partial refund for a customer transaction, you will use Stripe.
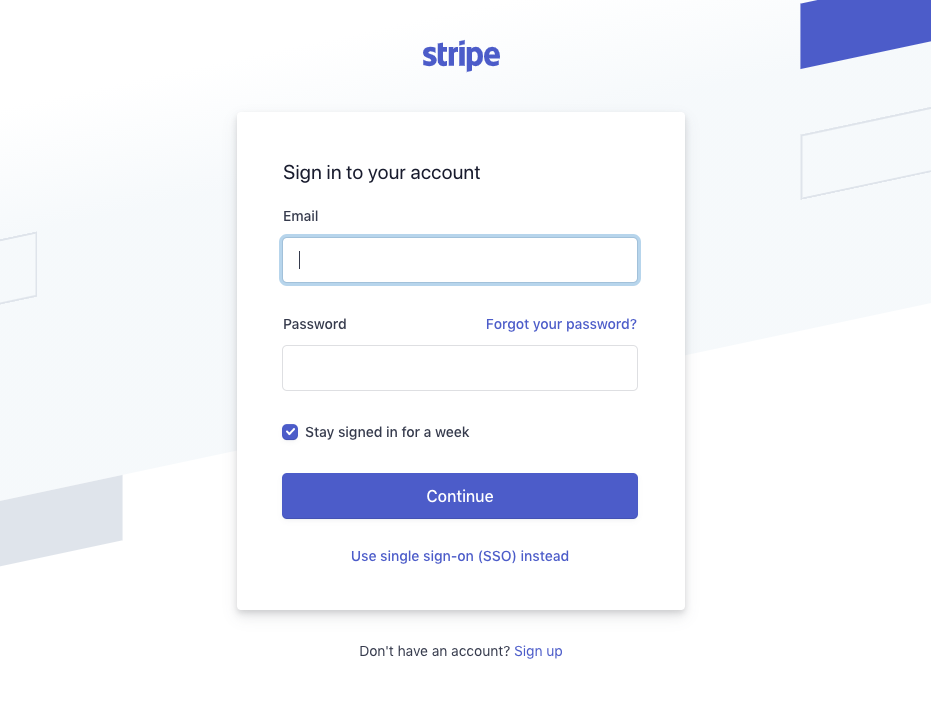
Step 1: Login to your Stripe account at https://dashboard.stripe.com/login
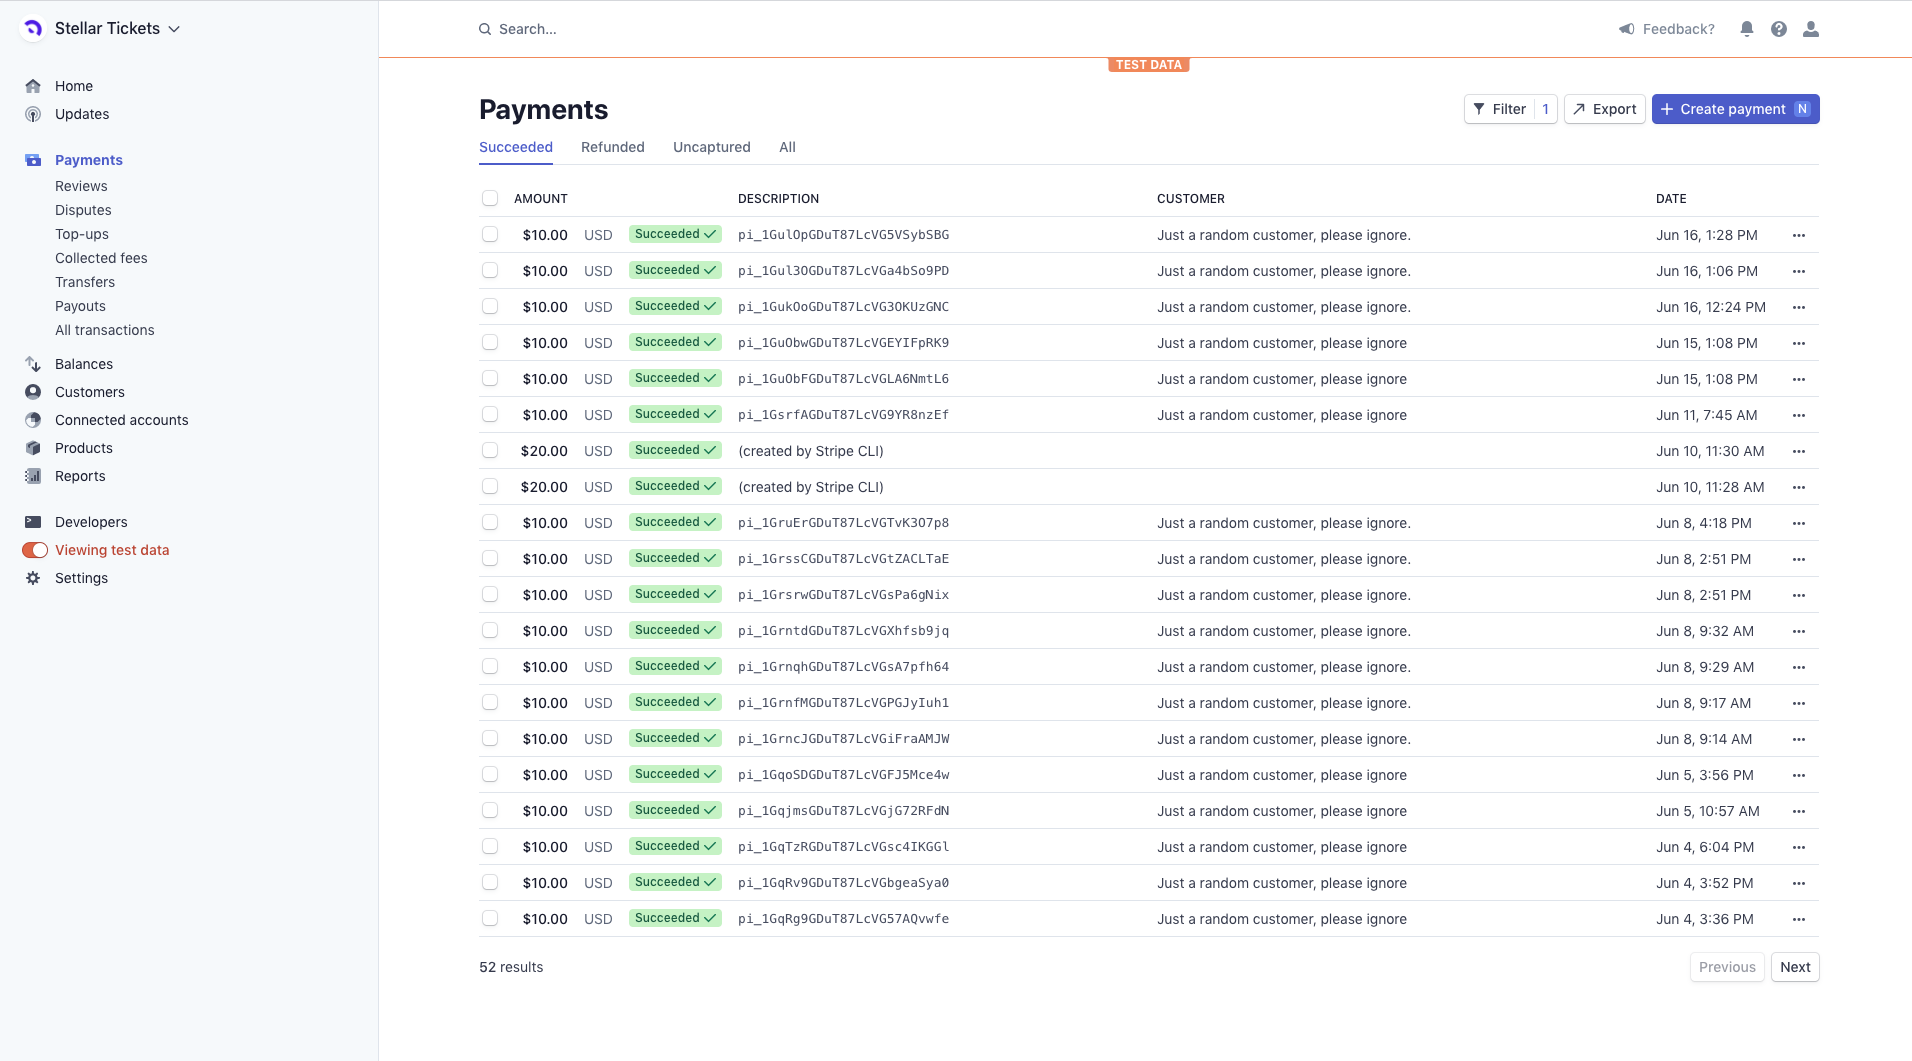
Step 2: Locate your customer's payment, either by searching for your customer's email address or clicking "payments" on the left navigation bar.
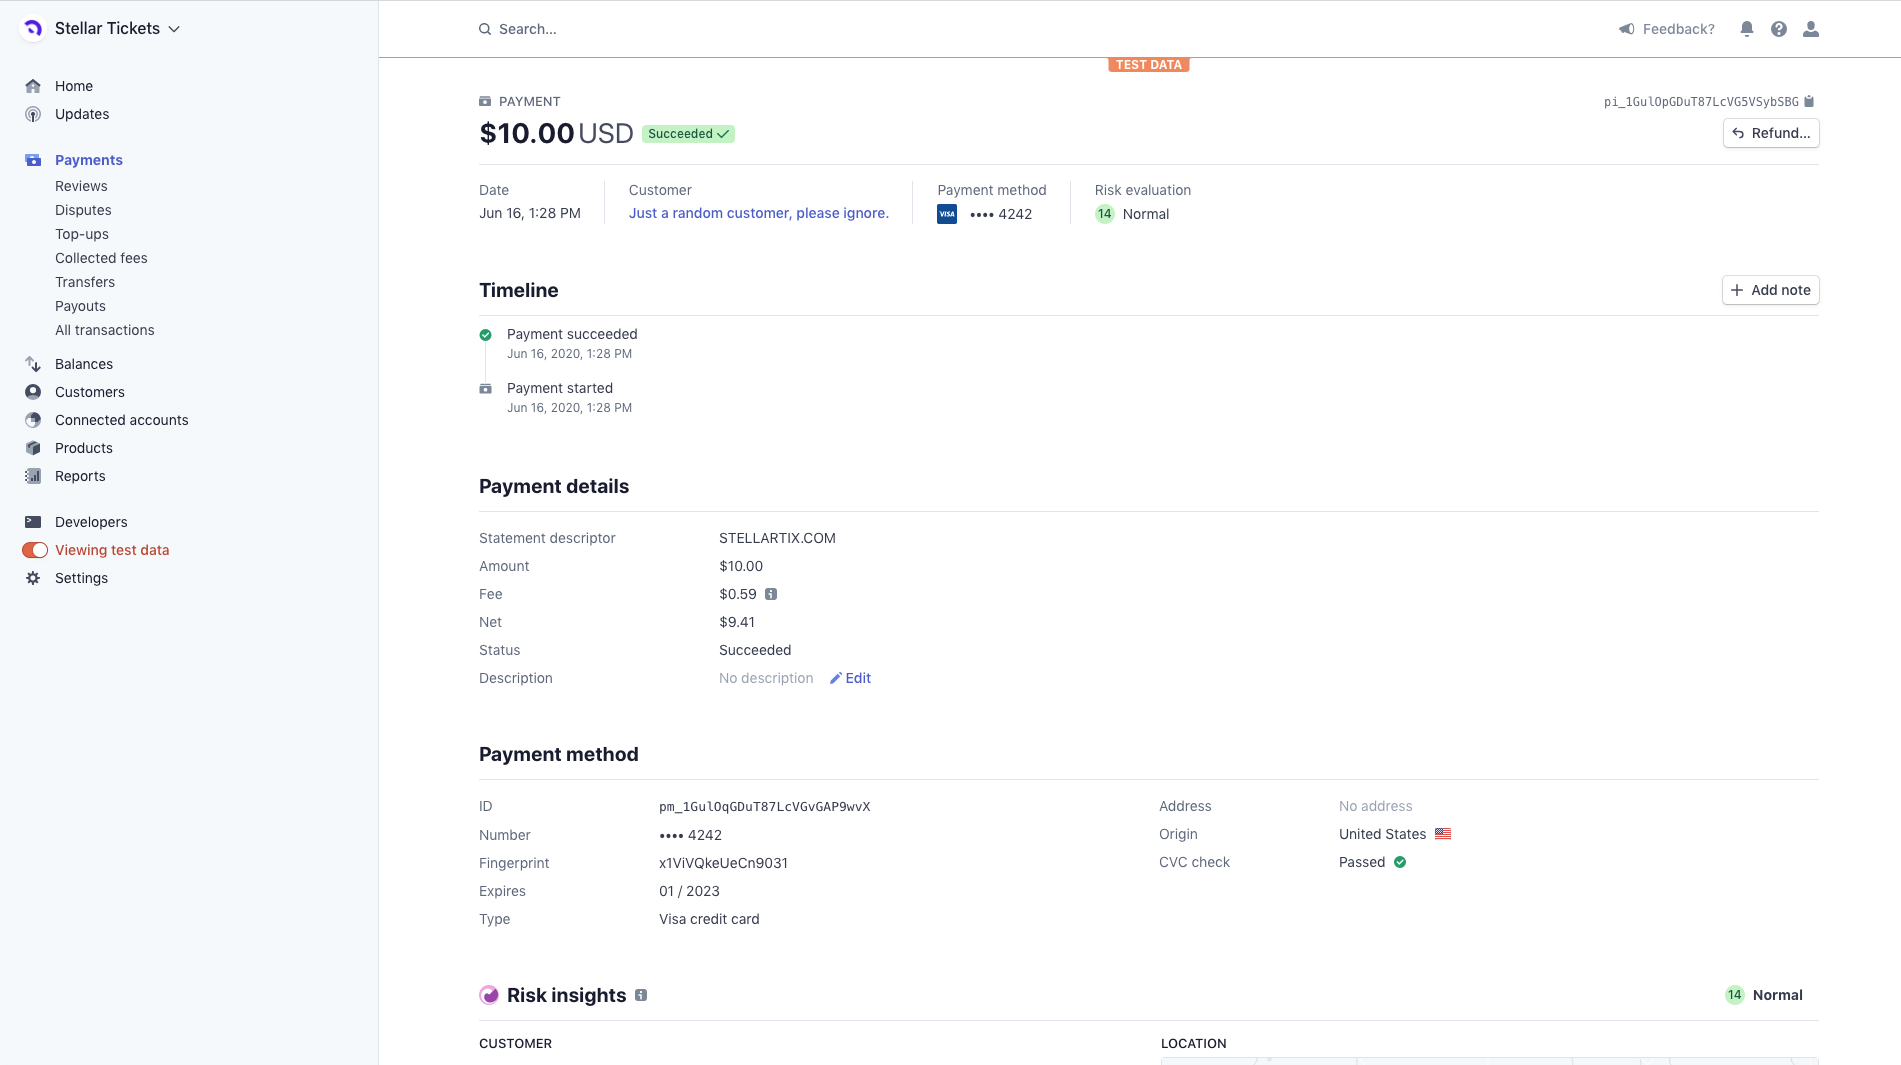
Step 3: Click the payment you wish to refund. This will open the payment detail page. In the top right corner, click the "refund" button.
Step 4: Choose the refund amount (the default is a full refund) and choose a reason for the refund. You can select one of the three pre-set options, or choose "other" to enter a custom reason.

Is there a time limit for refunds?
No. Stripe allows refunds at any time.
The Stripe doc on Refunding and canceling payments has a full breakdown of Stripe's refund capabilities.
Step 5: Revoke the transaction in Stellar. Refunding a transaction in Stripe does not remove the ticket from the customer's account in Stellar. You'll have to remove the ticket in Stellar.
- Go to your Dashboard.
- Search for the customer's email that you wish to revoke ticket(s) for.

- Click on the customer's email to view all transactions made by the customer and open the transaction page with tickets you wish to revoke by clicking the date.

- Once on the transaction page with the ticket(s) you wish to revoke, click the "revoke" button next to the ticket. Do not click "revoke all" unless you wish to remove all tickets generated by the transaction.

- You'll see the status of the ticket changed to "revoked"

If you need more help, please contact us at organizersupport@stellartickets.com.
TRANSFERRING TICKETS
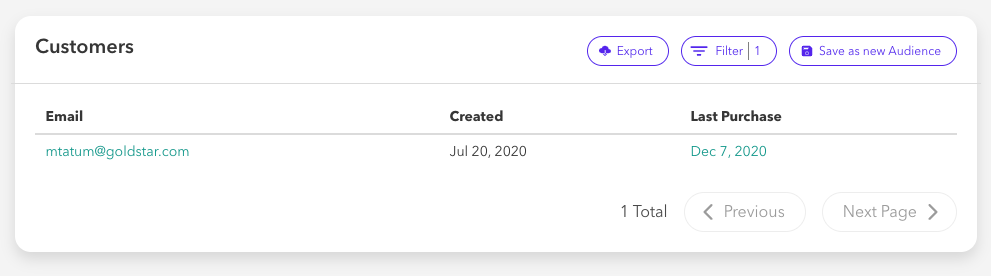
Step 1: Locate the original purchase by searching for the purchaser's email address in the search bar in your dashboard.
Step 2: When you've located their account, click on the Last Purchase date to access their transaction.
Step 3: On the transaction page locate the Tickets section. On the right-hand side of the page you'll see a button that says Revoke.
Revoking a ticket will not refund the transaction through Stripe. The Revoke function just invalidates the ticket link in Stellar.
Step 4: Once the ticket is revoked you will need to issue it to the recipient of the transfer. To manually issue a ticket:
- Click on the event then performance you’d like to issue tickets for
- Click the [...] to the right of the inventory you’d like to issue tickets for
- Click Issue Tickets
- Input the desired recipients email address and click Submit
The desired recipients will receive an email confirming their ticket which they can then access at the time of the show.
REPORTING
You can get reports on your tickets or transactions from your Stellar organizer account. In your Dashboard, you can get to these reports from the left navigation bar. All reports are able to be exported in .CSV format to your email.
Tickets - You can export a .CSV report of all tickets sold under your organizer accountResults can also be filtered by fulfilled, revoked, or transferred ticket status.
These reports include the event name, inventory, price point, ticket ID, ticket status (fulfilled/revoked/transferred), tracking code, customer's email address, source of the ticket sale (Stellar, Goldstar, or other third party), performance date/time, product type, price of ticket, ticket creation date, transaction ID, customer ID, and customer's marketing opt-in/out status. Customer information requested by the organizer during checkout such as customer names, phone numbers and street address are available in this report as well and will be labeled under the report data options as "Answers".
Transactions - You can export a .CSV report on transactions by organization, by event, by performance, or by inventory. Results can be filtered by transaction date, transaction type, inventory, or tracking link code.
These reports include transaction ID, transaction type, Stripe transaction, transaction date, customer ID, customer email, event ID, event name, performance ID, performance name, performance date, transaction status, transaction gross, donation or tip amounts (if any), ticket amounts, platform fee amounts, source (where you can see if purchase was made from Goldstar), marketing opt-in/out status, comments noted on transaction, and visibility code used (if any).
If the Type says “issuance” with n/a as the amount, this means one of 3 things:
- The transaction is reflective of a Goldstar purchase meaning that the organizer will be paid directly from Goldstar for this ticket.
- The organizer has manually issued a ticket.
- The original purchaser of a ticket requested that Stellar complete a ticket transfer for a gift. In this event, Stellar’s staff will note on the original transaction if a ticket was revoked and reissued to another email as a gift.
To pull a full report for all transactions under your organization's Stellar account, go to "Reports" on your dashboard > click "Transactions" > click "Export".
To pull a transactions report by event, performance, or inventory, go to "Events & Products" on your dashboard > click "Events" > click on event of your choice > locate and click on the ellipses (...) next to the event, performance, or inventory that you'd like to pull a report for > click "View Transactions" > click "Export".
For full details on reporting please see How To Find Reporting Data.