
How to Set Up Your Stellar Organizer Account
Get your account set up & ready to sell tickets and stream shows
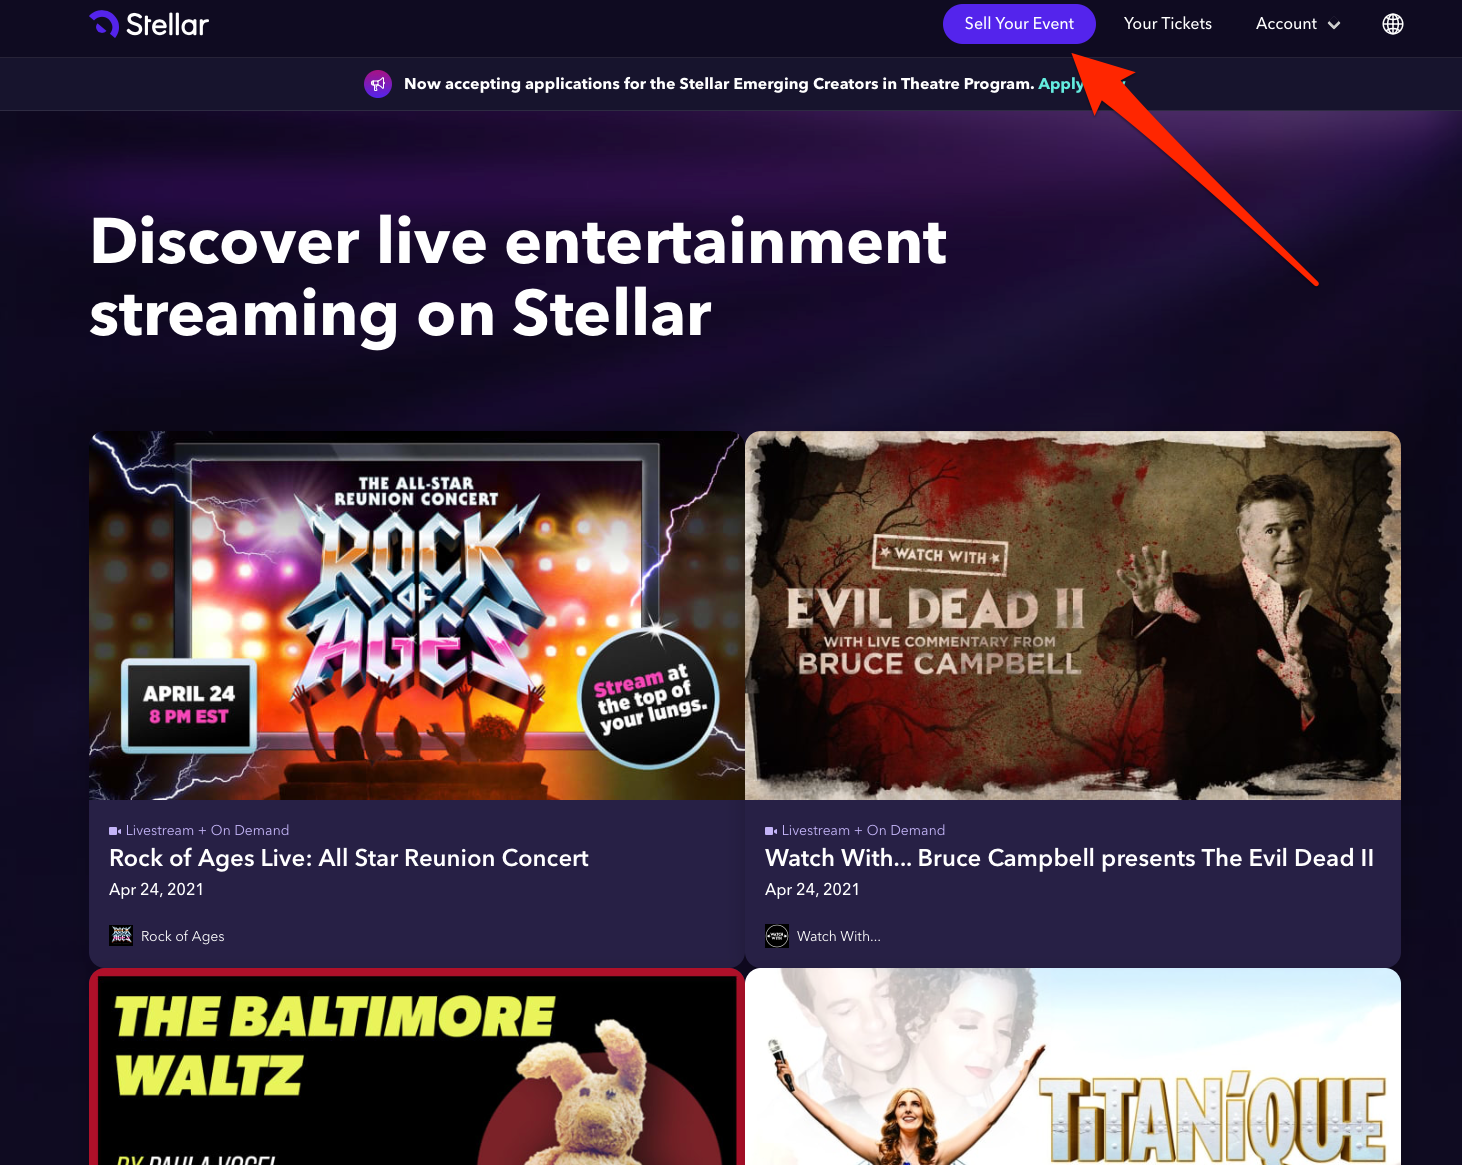
Step 1: Click “Sell Your Event” on the Stellar homepage.
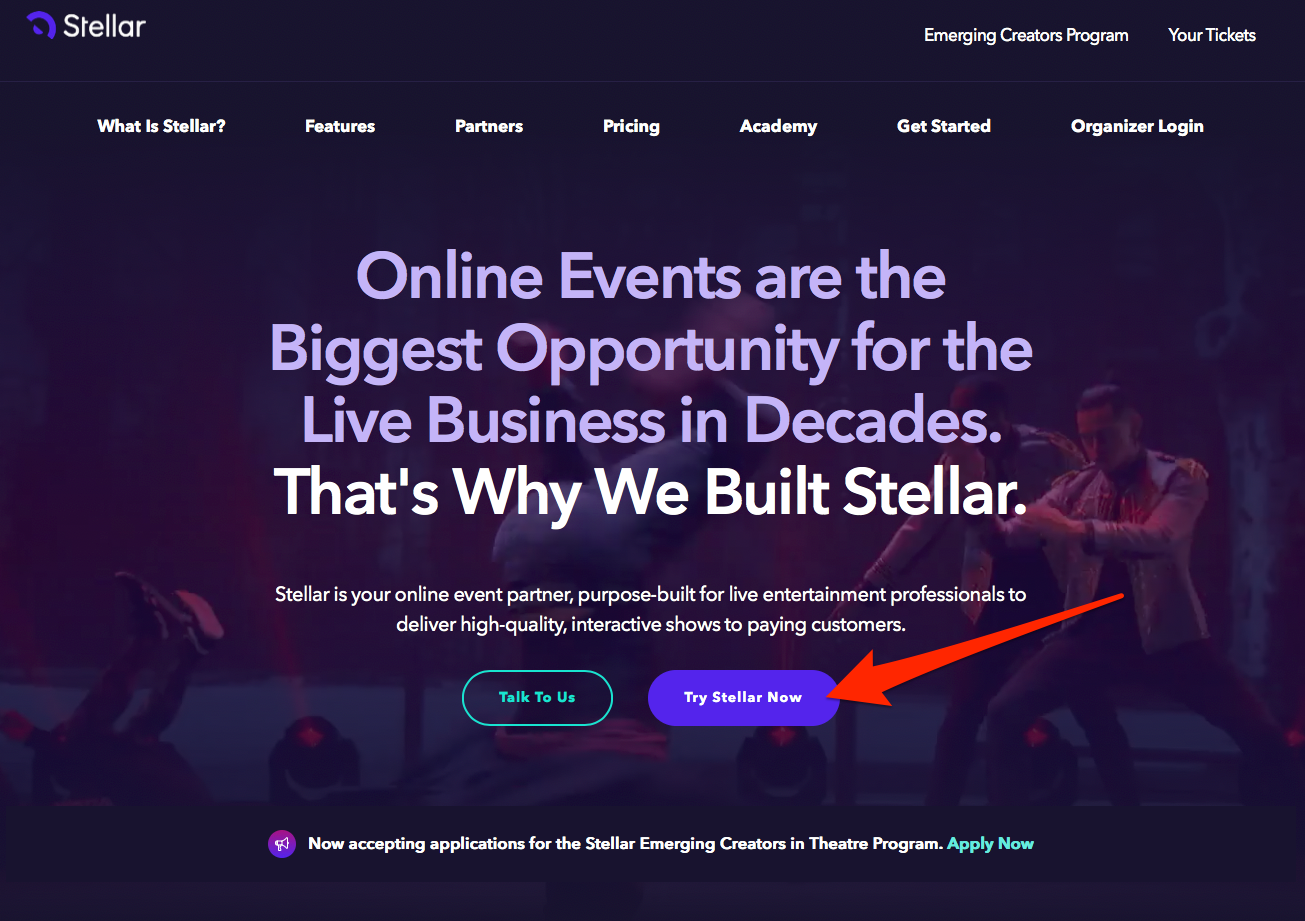
Step 2: You'll be taken to Stellar's organizer landing page. Feel free to browse this page and learn more about Stellar. When you're ready to set up your account, click "Try Stellar Now."
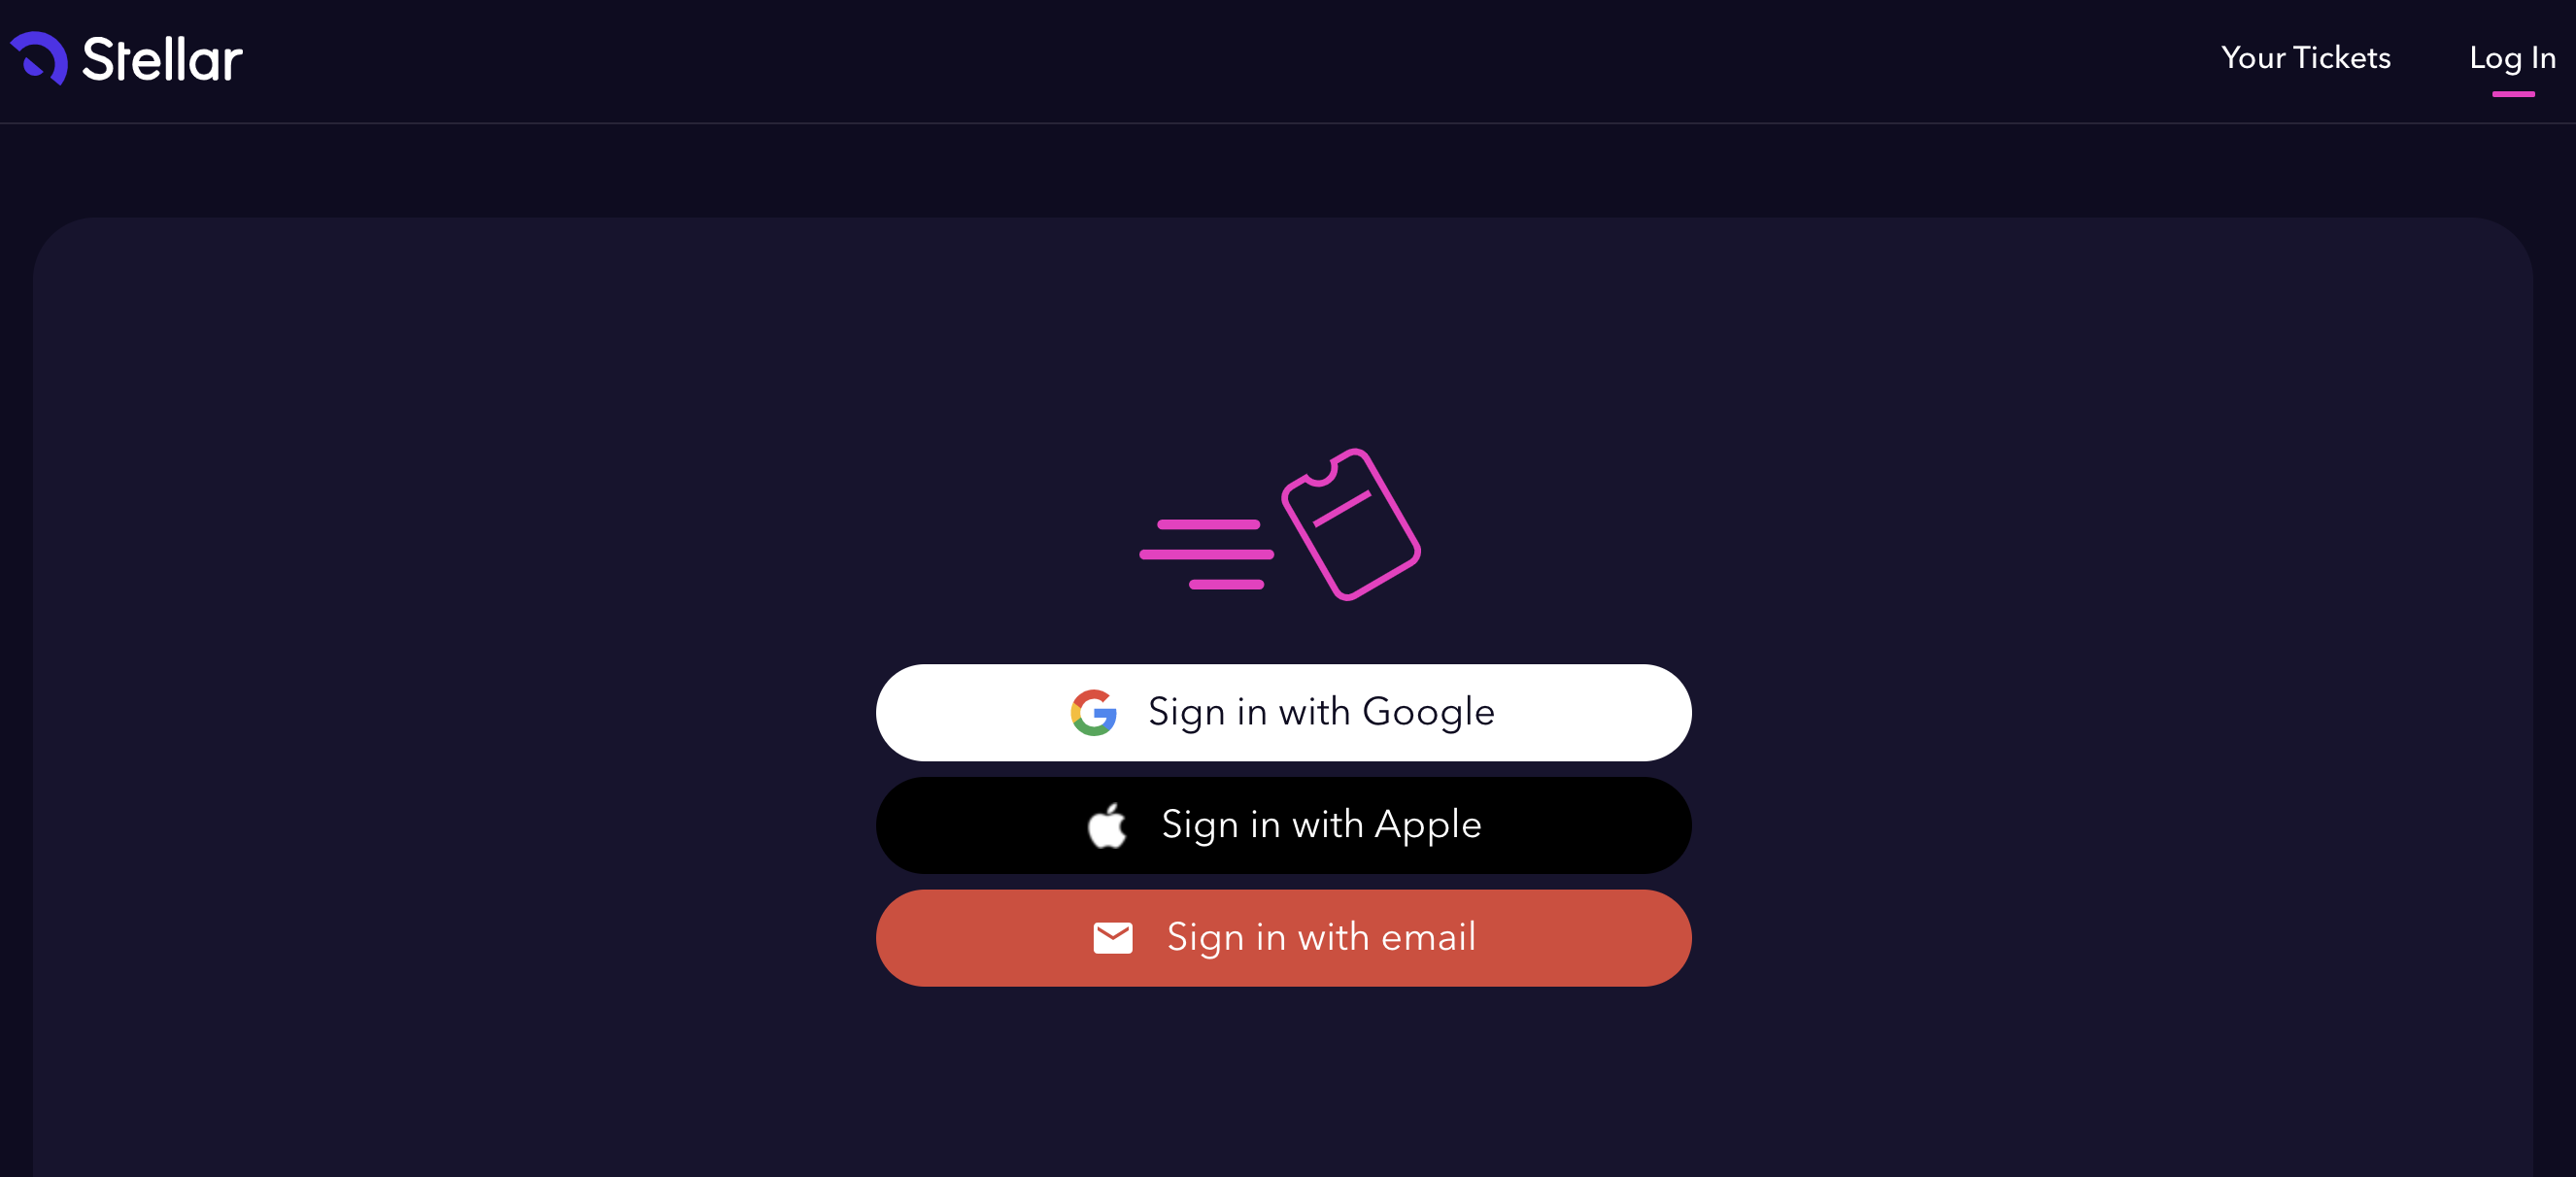
Step 3: Sign in.
Choose any one of the methods listed on the screen to sign in. If you don't have a Stellar account yet, signing in will create your account.
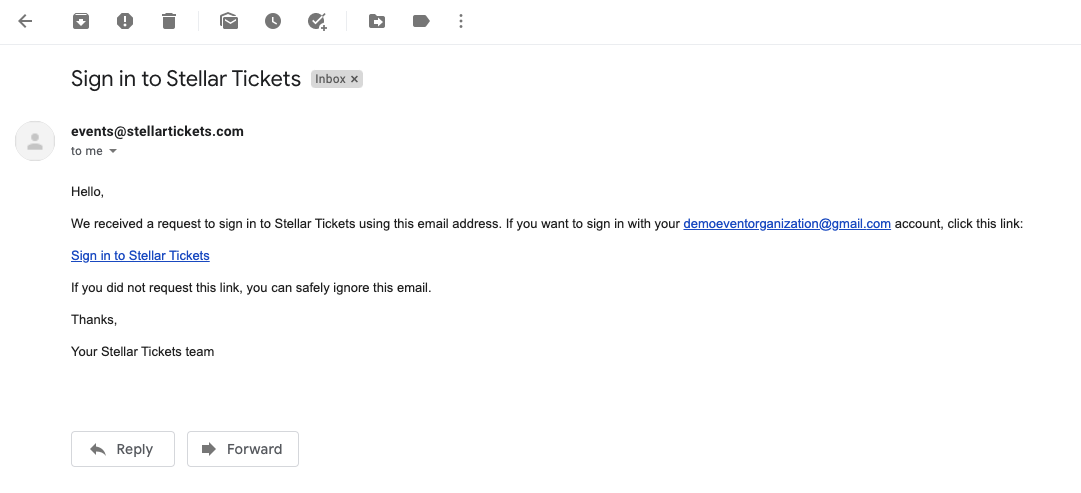
If you sign in with your email, Stellar will send a “magic link” to you to complete the registration process. The email with the link will be from events@stellartickets.com.
Step 4: If you signed in with email, locate the magic link in your email client, and click “Sign in to Stellar Tickets”
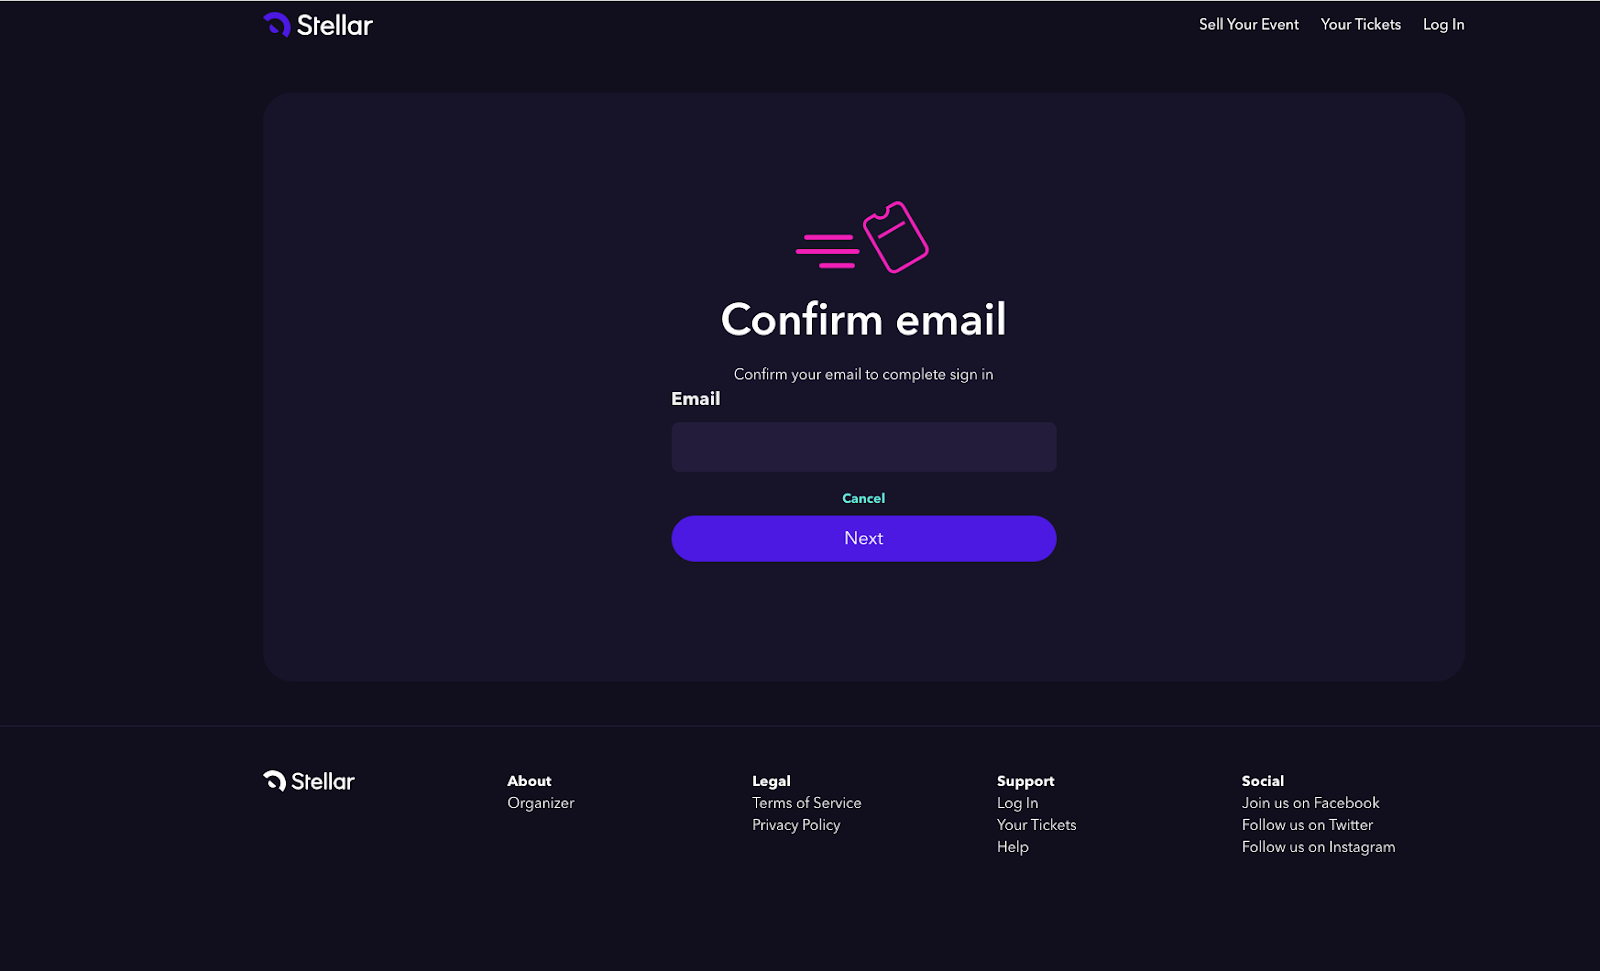
Step 4: Confirm your email address by entering it in the field provided.
Step 5: Select a plan.
Once you've completed sign in, you'll be greeted by a welcome screen. Read through the information there and click Next. Now you'll be asked to choose a plan.
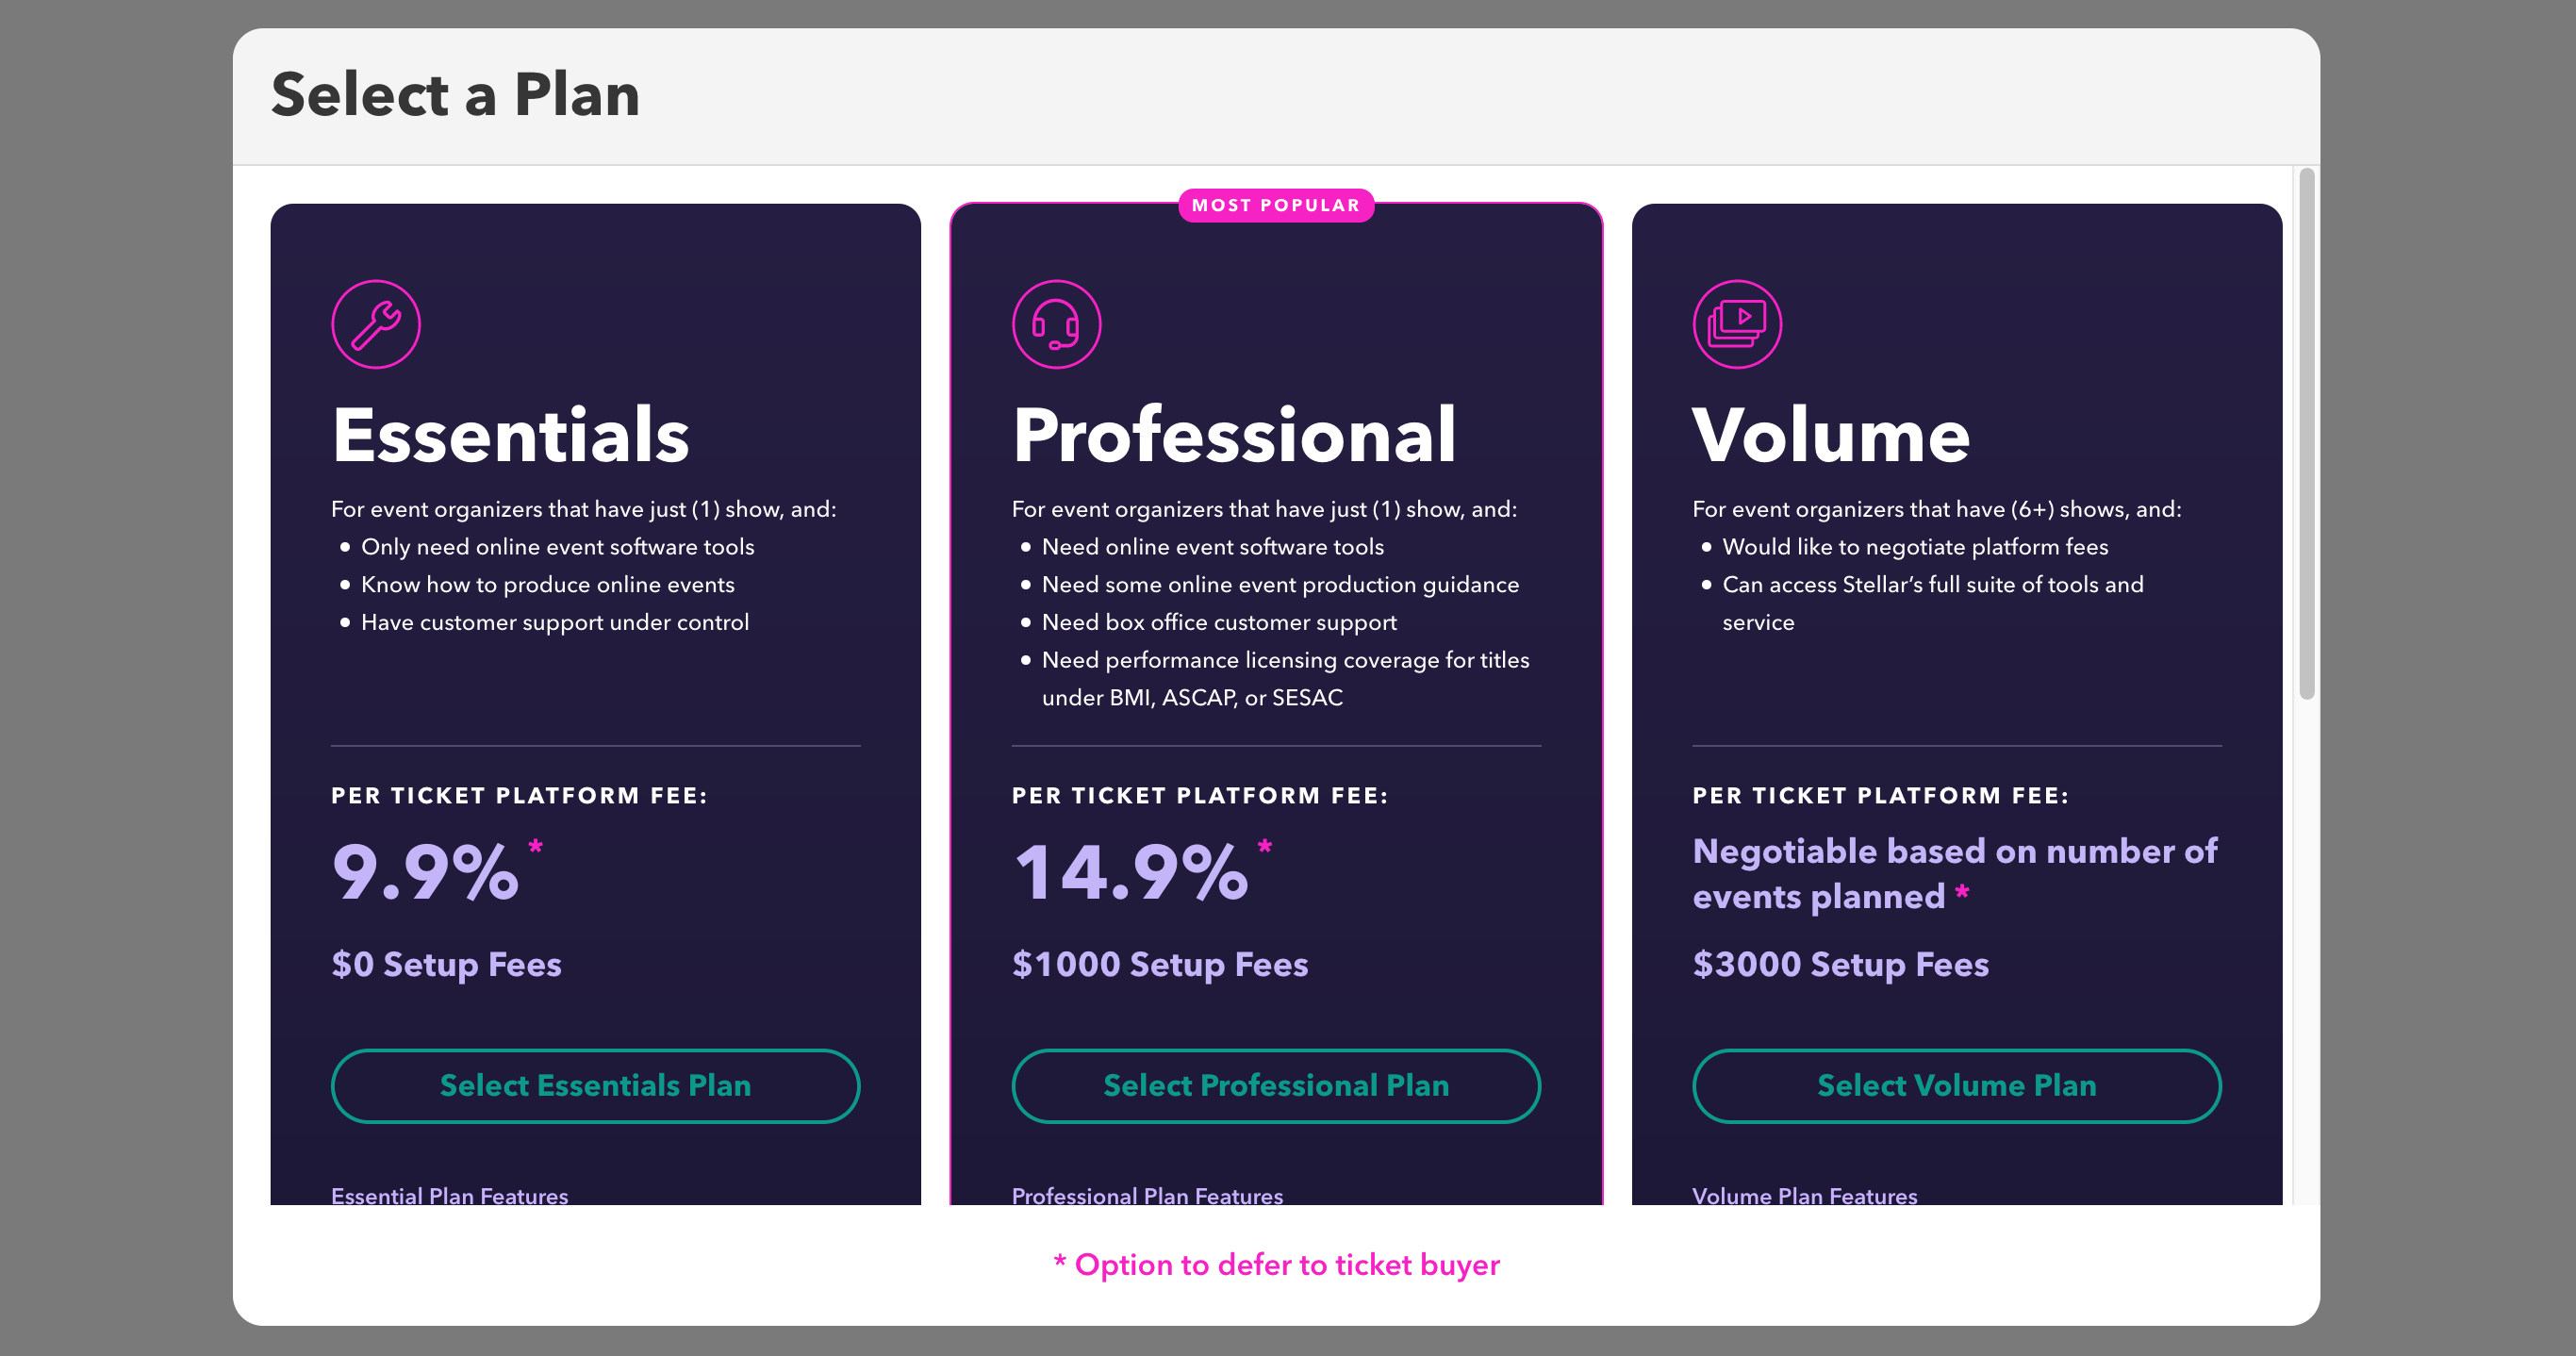
Read carefully through the plan features and select the plan that works best for you. (You'll be able to change your plan later if you change your mind.)
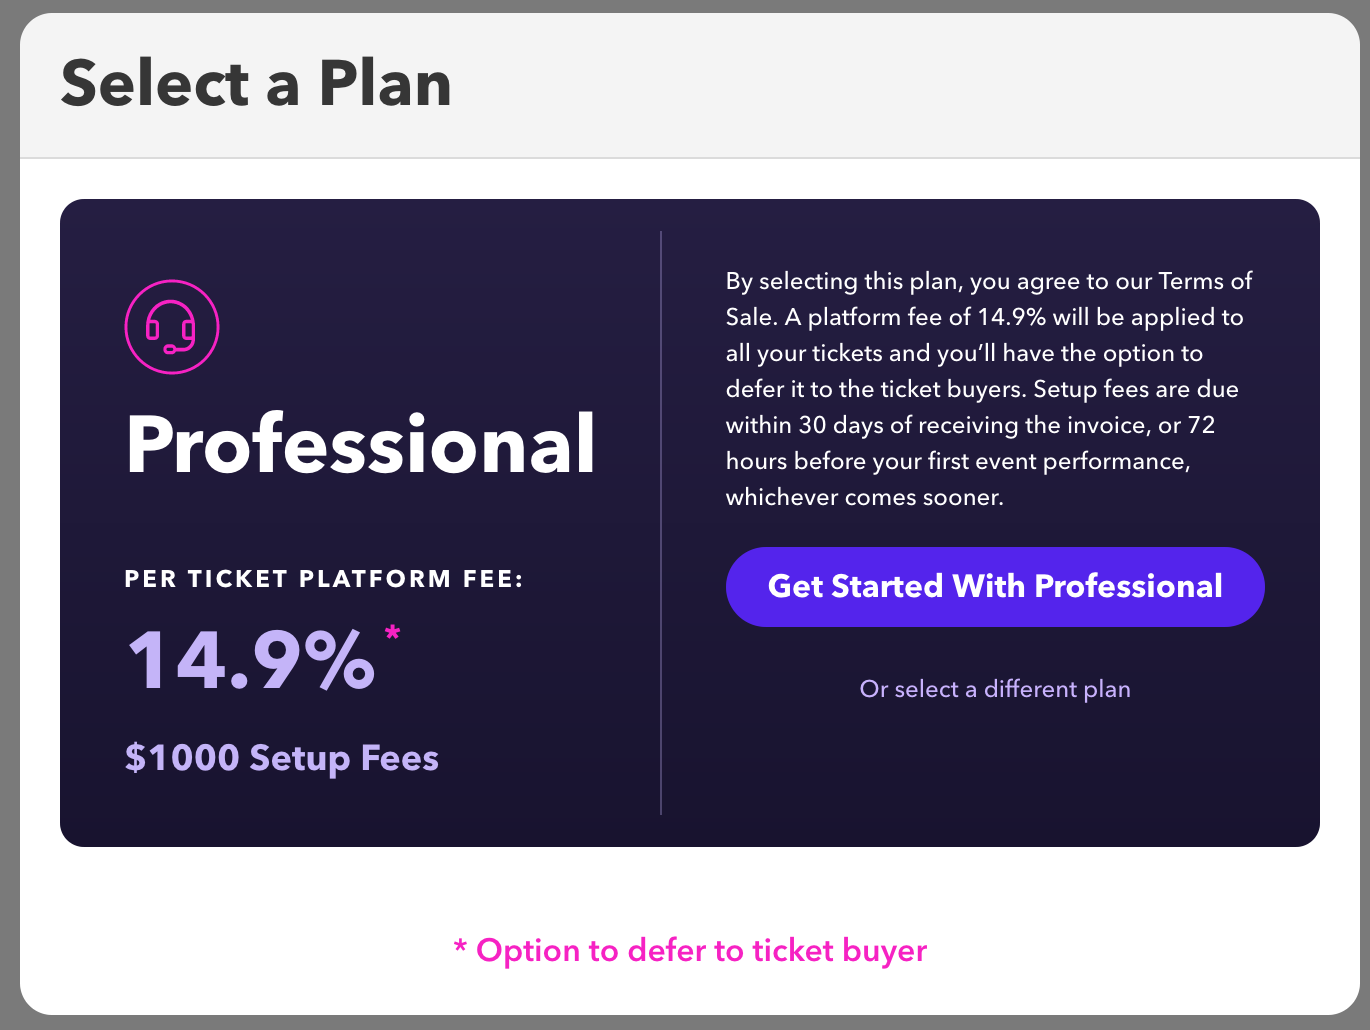
Once you've selected your plan, you'll see a confirmation screen with your selected plan and the Terms of Sale. Confirm your selection by clicking the Get Started With ... button.
Step 6: Create your Organization.
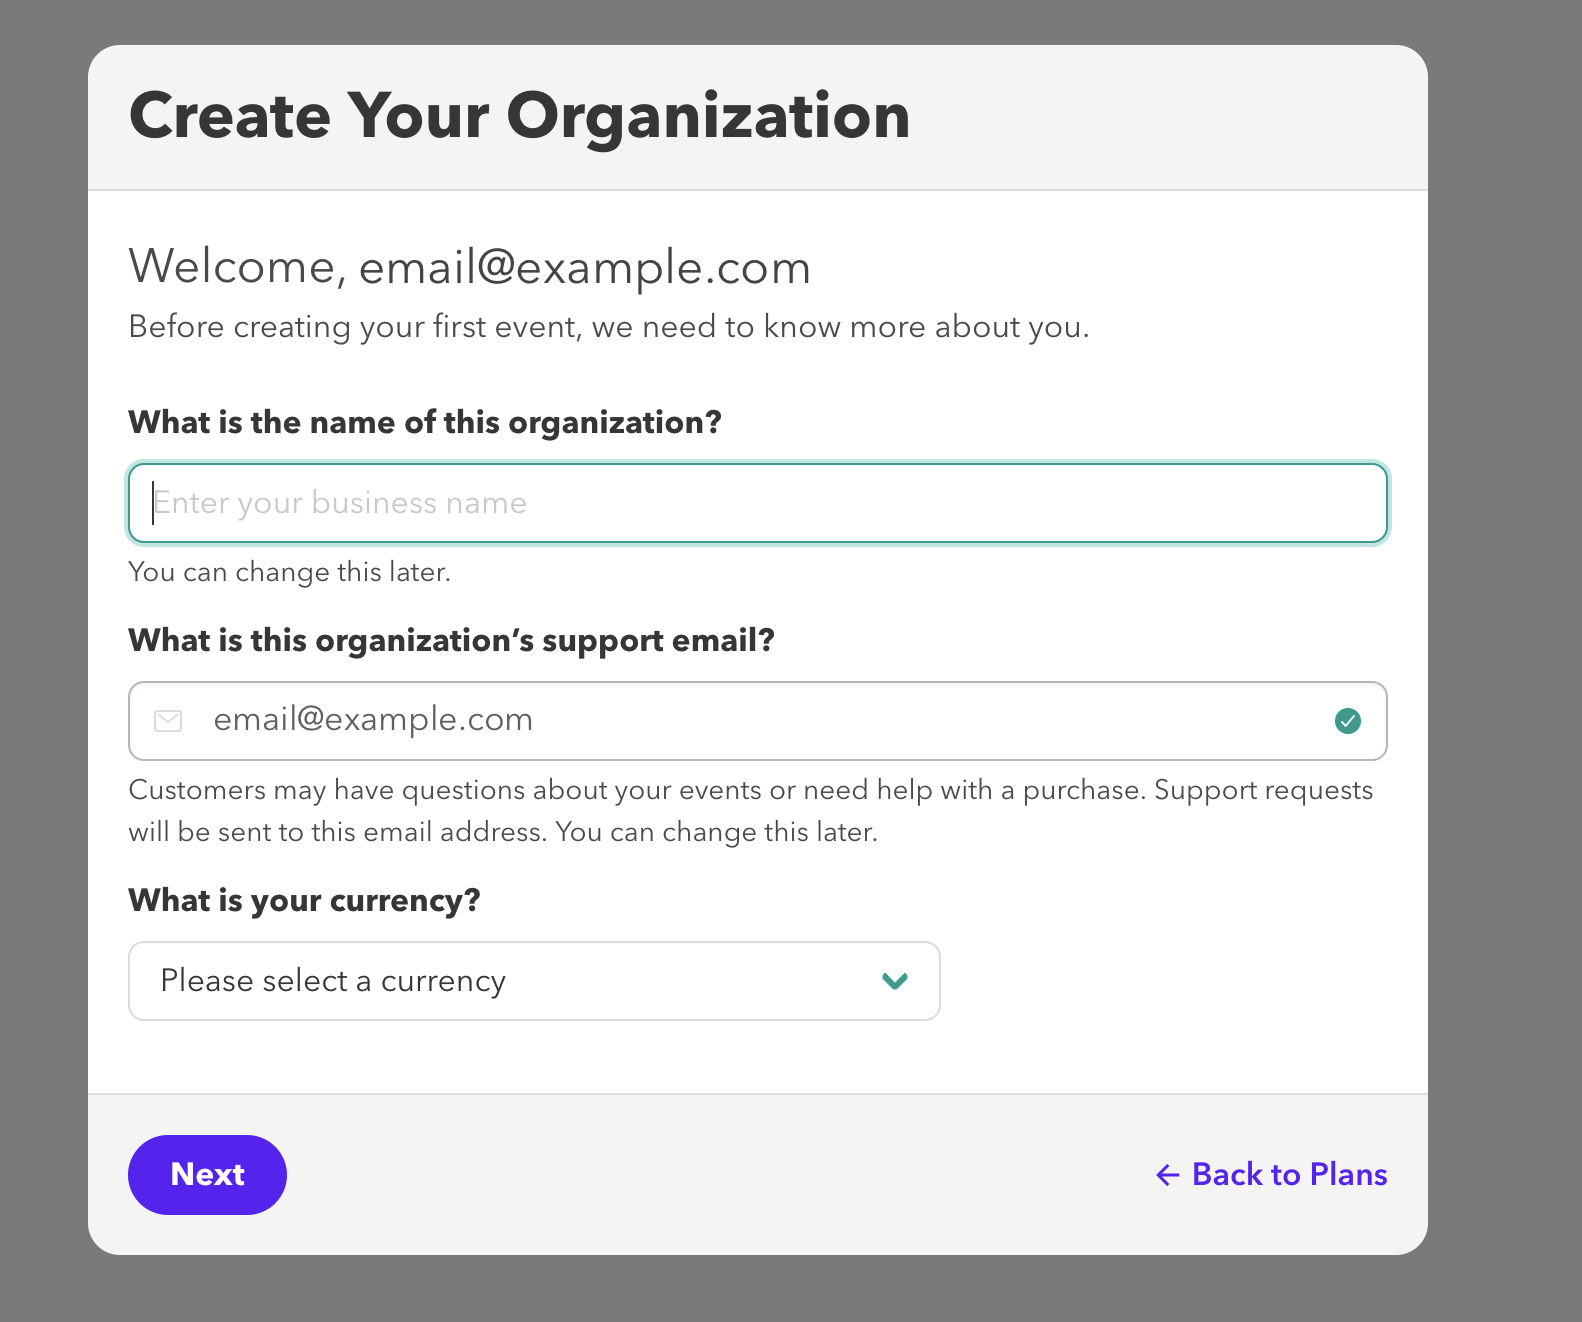
Your Organization is your business account on Stellar. Create your Organization to start creating and selling your events.
First, enter your organization name. This is the business name that customers will see when they purchase tickets.
Next, enter your support email. This is where you will receive customer service emails from your customers who purchase tickets on Stellar.
Finally, select your currency. This is the currency you will use to sell tickets and collect payments. If you already have a Stripe account, it's a good idea to use the same default currency as your Stripe account, to avoid extra fees.
When you're done, click Next to go to the next step.
Great! Now your Organization is created and you will go to your Dashboard. Feel free to take some time to look around and explore the features. Before you can create your first event, there are a few more steps you'll need to complete.
Step 6: Upload a Logo
On your Dashboard, you'll see a list of steps needed to Complete Your Account.
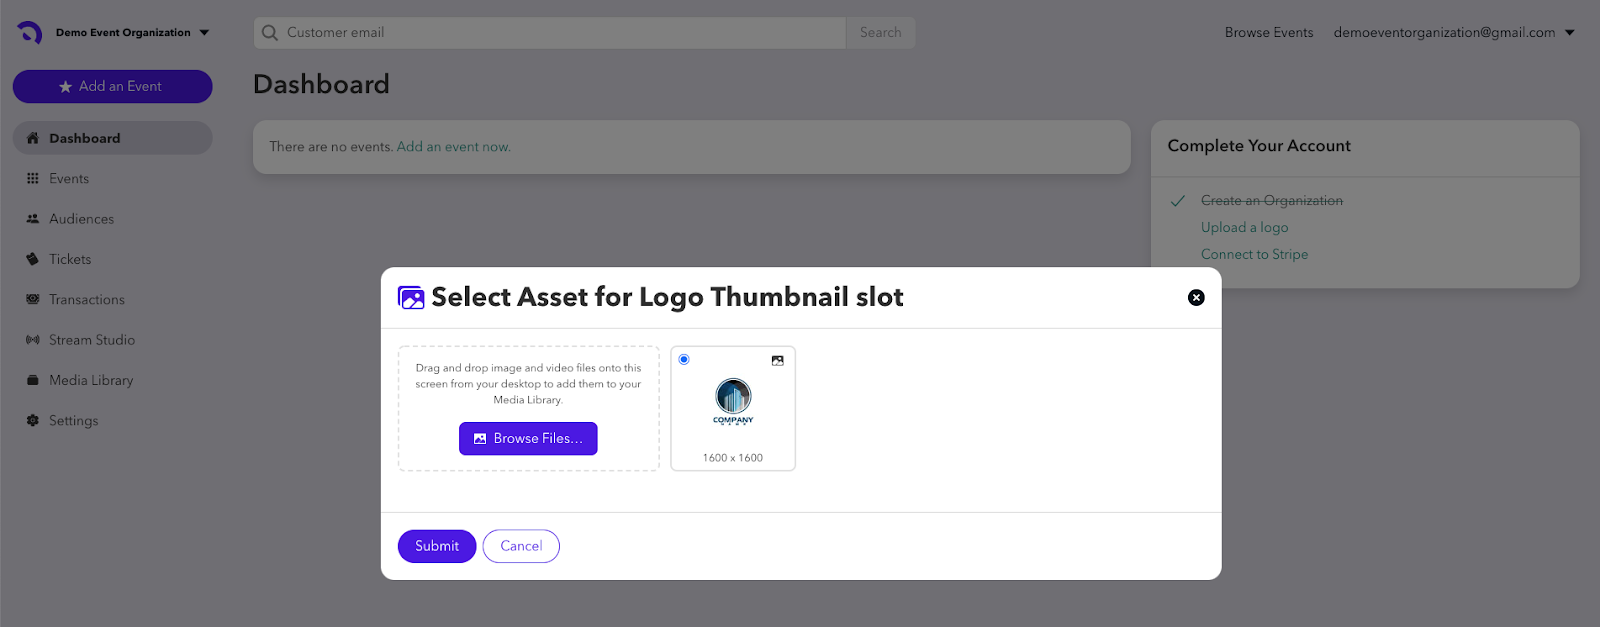
Click on Upload a Logo, then Browse Files. This will pull up your own files so you can locate your organization's logo. Select your logo from your files to upload it. The logo will appear in the box so you can see how it looks. If you've uploaded the correct logo, click Submit to complete this process.
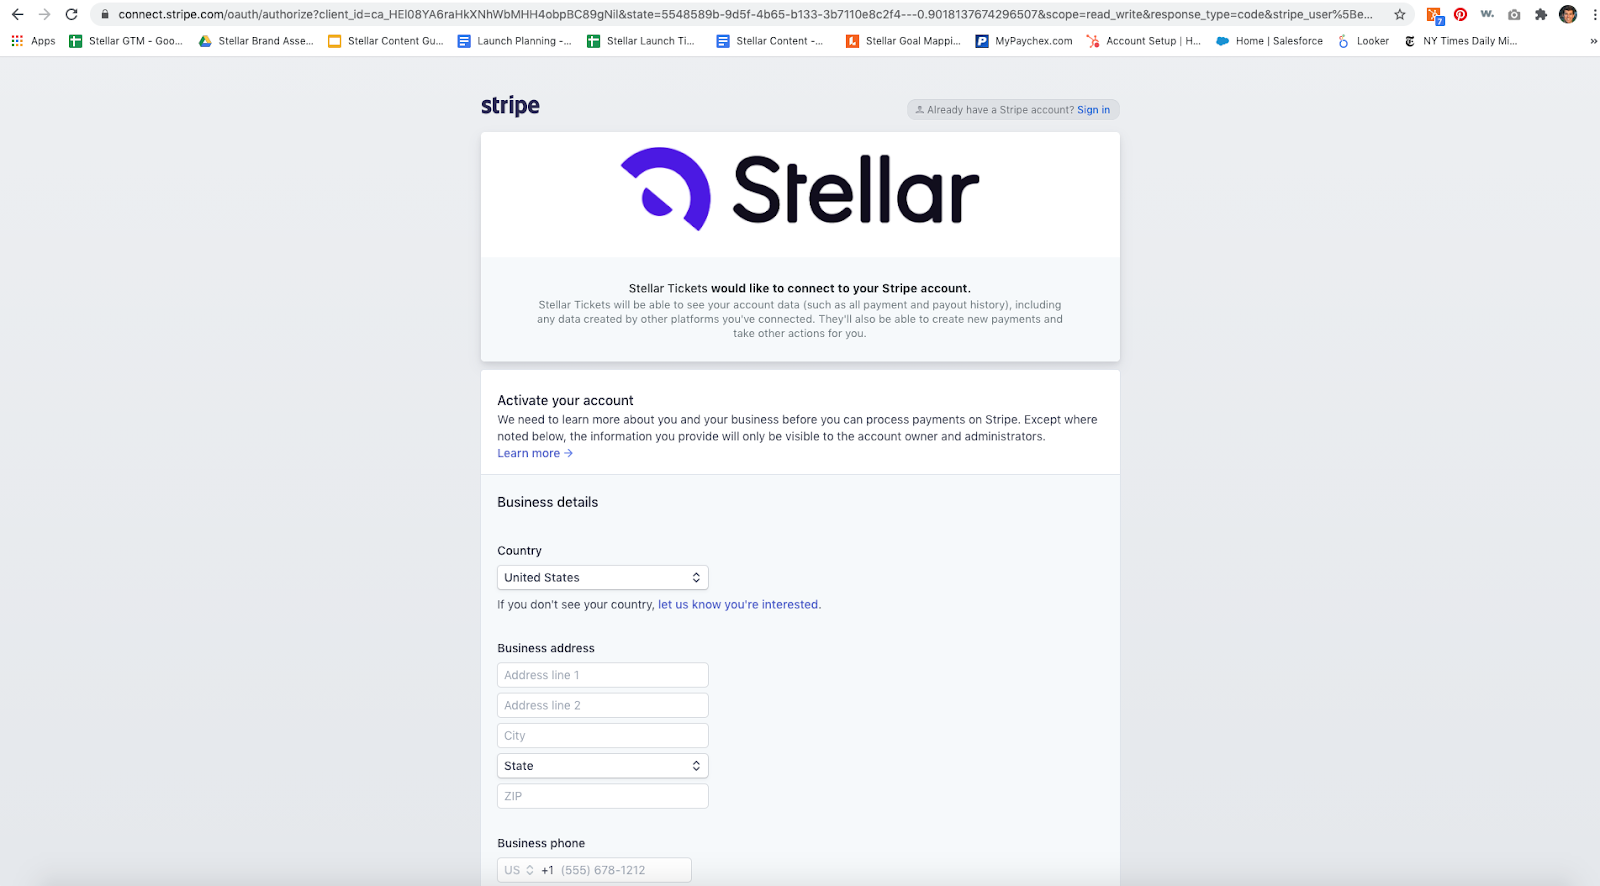
Step 7: Connect to Stripe.
You're almost done! This last step is the most important. All Stellar Organizers must connect to Stripe to process and collect payments.
If you already have a Stripe account, you will connect to your existing account.
If you are creating a new Stripe account, you'll need to have some information ready when you are setting up your account. To set up a Stripe account, you should either be the owner of record for your organization or have the last four numbers of the owner’s social security number, as well as your organization’s banking information, including routing and account numbers.
Once you have finished setting up your Stripe account, you are now ready to add an event and start selling tickets!
Click Settings to make changes to your account.
- Profile & Plan - Edit your website, customer support contact, social media pages, currency, language or your Stellar plan tier.
- Members - Add or remove access for your organizer team members.
- Integrations - Add or remove API tokens.
- Fees - Configure pass-on fees.

If you have questions about Stellar pricing, configuring your organizer account or using Stripe, please email organizersupport@stellartickets.com
Need help creating your first event? We have an article for that: Add an Event.