
How to Add an Event
Learn how to add your event on Stellar and start selling tickets
Stellar is a total show management system for online events, purpose-built for live entertainment professionals to deliver high-quality, interactive shows to paying customers. You can ticket, stream, and promote your online event with Stellar.
Before you can start selling tickets, you'll need to add your event and build your event listing page. This is the page your audience will see on Stellar where they can purchase tickets.
Here's how to add and build your event listing page.
1. Go to your Dashboard and click on "Add an Event" on the top left.
2. Add a Title
This is the name of your event that your audience will see on Stellar so use a title that is short and descriptive.
3. Add a description
Click the [...] next to the Publish button. Click "Edit Event".
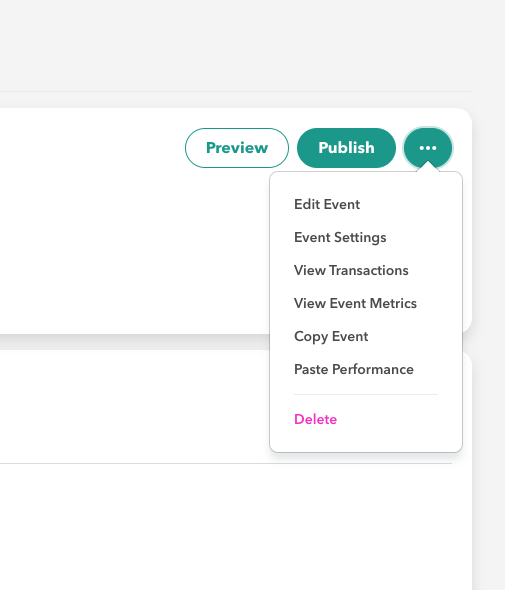
Here you can:
- Update your event tile
- Add your event description
- Customize the marketing opt-in message that is presented to customers.
In your event description, please tell your audience about your event. What will they see and experience at your event? What can they expect from it? What makes it interesting, fun, unique or exciting?
Please also include any ticket policies and terms in your event description (i.e No refunds, no date changes). Click "Save."
Feel free to use Markdown to format your description, add links and images.
4. Add Images
To publish your event, you will be required to upload 4 images: Landscape Cover, Portrait Cover, Second Header and Third Header. These image will appear at the top of your event listing page, so it’s best to use a large, high-quality press/production photo.
Image specs:
Landscape cover: 1600x900 (Main header image for your event landing page)
Portrait Cover: 2000x3000 (Main header image for mobile devices/vertical orientation)
Second and Third Header Images 900x1600
You have the option to upload a .mp4 video trailer that is no more than 100MB. If you opt to upload a video trailer, the trailer will take place of the Landscape Cover image on your event listing but will use the Landscape Cover image as the still.
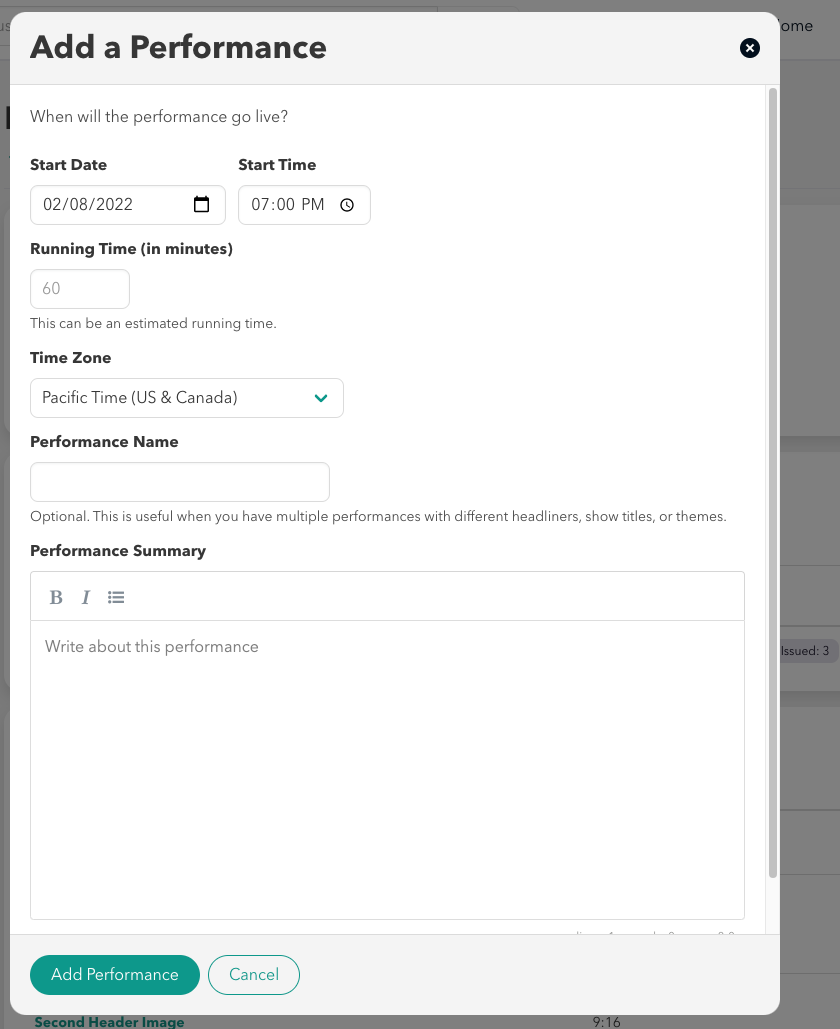
5. Add a Performance
A performance is the date and time an event takes place. You can have one or multiple performances per event. Under the performance is where you'll fill out the performance start/end dates and times, run time, and time zone.
Start Date: Select the start date/time for your performance. Add in the running time for your performance. This can be an estimated time.
Time Zone: You will want to select your preferred time zone for your performance.
You'll also have the option to name your performance and add a performance summary. If you opt to use the performance name field, use a name that's short and descriptive. Adding performance names is most useful when you have multiple performances with different headliners, show titles, or themes. Click "Submit".
6. Add an Inventory to the Performance
First you'll need to select the type of inventory you are offering. For example if you select Livestream and Video on Demand, this means that all purchasers from this specific inventory will have access to both your live and on demand content.
The quantity you select indicates the number of tickets you'll allocate for sale. For example your livestream event may have unlimited tickets, while an inventory for an in-person event will be limited to the number of seats your facility can offer.
Enabling the option to transfer tickets allows your purchasers to gift tickets to friends and family.
An inventory describes the product being sold for the performance. You'll need to name the inventory so use a name that's short and descriptive like "Livestream Only" or "Livestream + Video On Demand".
Please note that General offers and VIP offers should be listed under two separate inventories given the terms of the offer are different.
The description field gives you the opportunity to tell your purchasers about bonus features offered with their tickets. For example, if your VIP Livestream Ticket includes a signed poster you could indicate this information here.
The custom content field allows you to include a customized message to the ticket confirmation email. This could include details on when a VIP poster would be expected to ship.

Also under adding an inventory are the options to limit the inventory you're creating (which is typically used for special and not general offers) or require that customers answer certain checkout questions during their checkout process. Checkout questions include asking the customer for their full name, first and last name (two different fields), name and address, or phone number. You can select as many checkout questions as you'd like. As of now, if any of the four checkout question boxes are selected, your customer will not be able to complete a ticket transfer (gift/transfer the ticket the purchased to a friend's email address). In order for a ticket transfer to be completed when checkout questions are required, the event organizer will need to manually complete the transfer from their dashboard.
Click here to view Manually Issuing Tickets article
7. Add Price Points to the Inventory
After you add an inventory of tickets, you'll need to set the pricing for the tickets. You can have one or multiple price points per inventory.
Price Point Name - You'll need to name the price point so use a name that's short and descriptive like General Admission or Special Admission for discounted price points. For donations and tips, you will also need to add price points. Customers will not be able to customize their tip or donation amount and will only be able to select from the price points that you make available.
Offer Code - This option allows you to hold price points from the public with a secret code of your choice.
When customers visit your event listing page, price points held with offer codes will not be viewable until they enter the correct offer code.
Max Group Size - The maximum amount of tickets that can be purchased at one time for this price point. Typically this is set to 1.
User Purchase Limit - The maximum amount of tickets a customer can buy in total for this price point. Typically this is set to 1.
Visible Date and Time - This is when the price point appears on the event listing page. It won't be available for sale until the On Sale At Date.
On Sale At Date and Time - This is when the price point is available for sale on the event listing page.
Off Sale At Date and Time - This is when sales close for the price point.
8. Review and publish your event
Once all of your events information is in, you may click the Preview button to the right of your event title to preview your listing and make sure everything looks good.
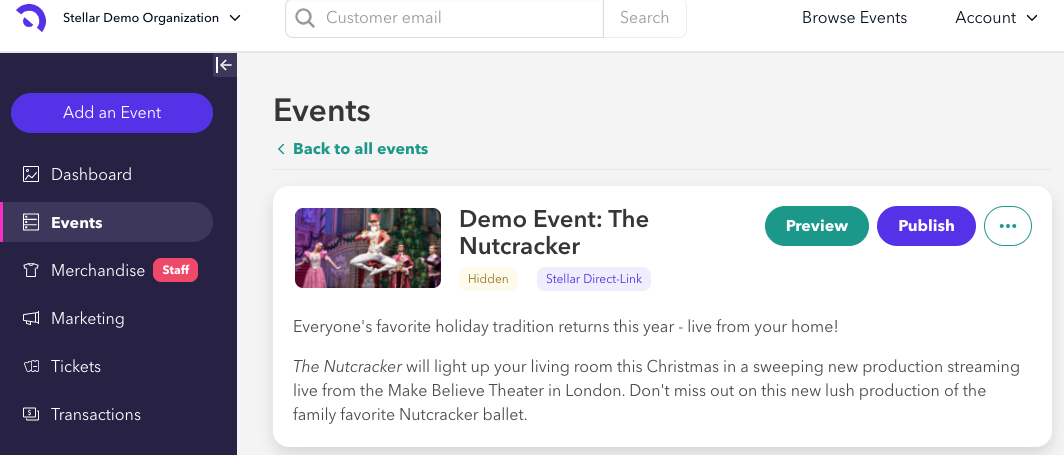
If everything looks good, you're now ready to Publish your event so that your audience can begin viewing your listing and making purchases (according to your visible/on sale/off sale settings).
When you click Publish, you will have the option to list the event publicly on Stellar or set the event so it can only be reached through a direct link. If you are selling tickets to a private event you do not want to appear on Stellar, unclick Stellar from your distribution channels. You may also click the three dots (...) to edit distribution channels later.
If you need help adding your event, please contact us at organizersupport@stellartickets.com. If you wish to know more about Stellar, including all platform features and pricing, please talk to our sales team at https://organizer.stellartickets.com.